Topology Map Widget
Last updated on 06 February, 2025Disclaimer: This content applies to the legacy UI and is no longer maintained. It will be removed at a future time. For up-to-date content, see Topology Map Widget. At the time of removal, you will automatically be redirected to the up-to-date content.
Overview
FEATURE AVAILABILITY: LogicMonitor Pro and Enterprise
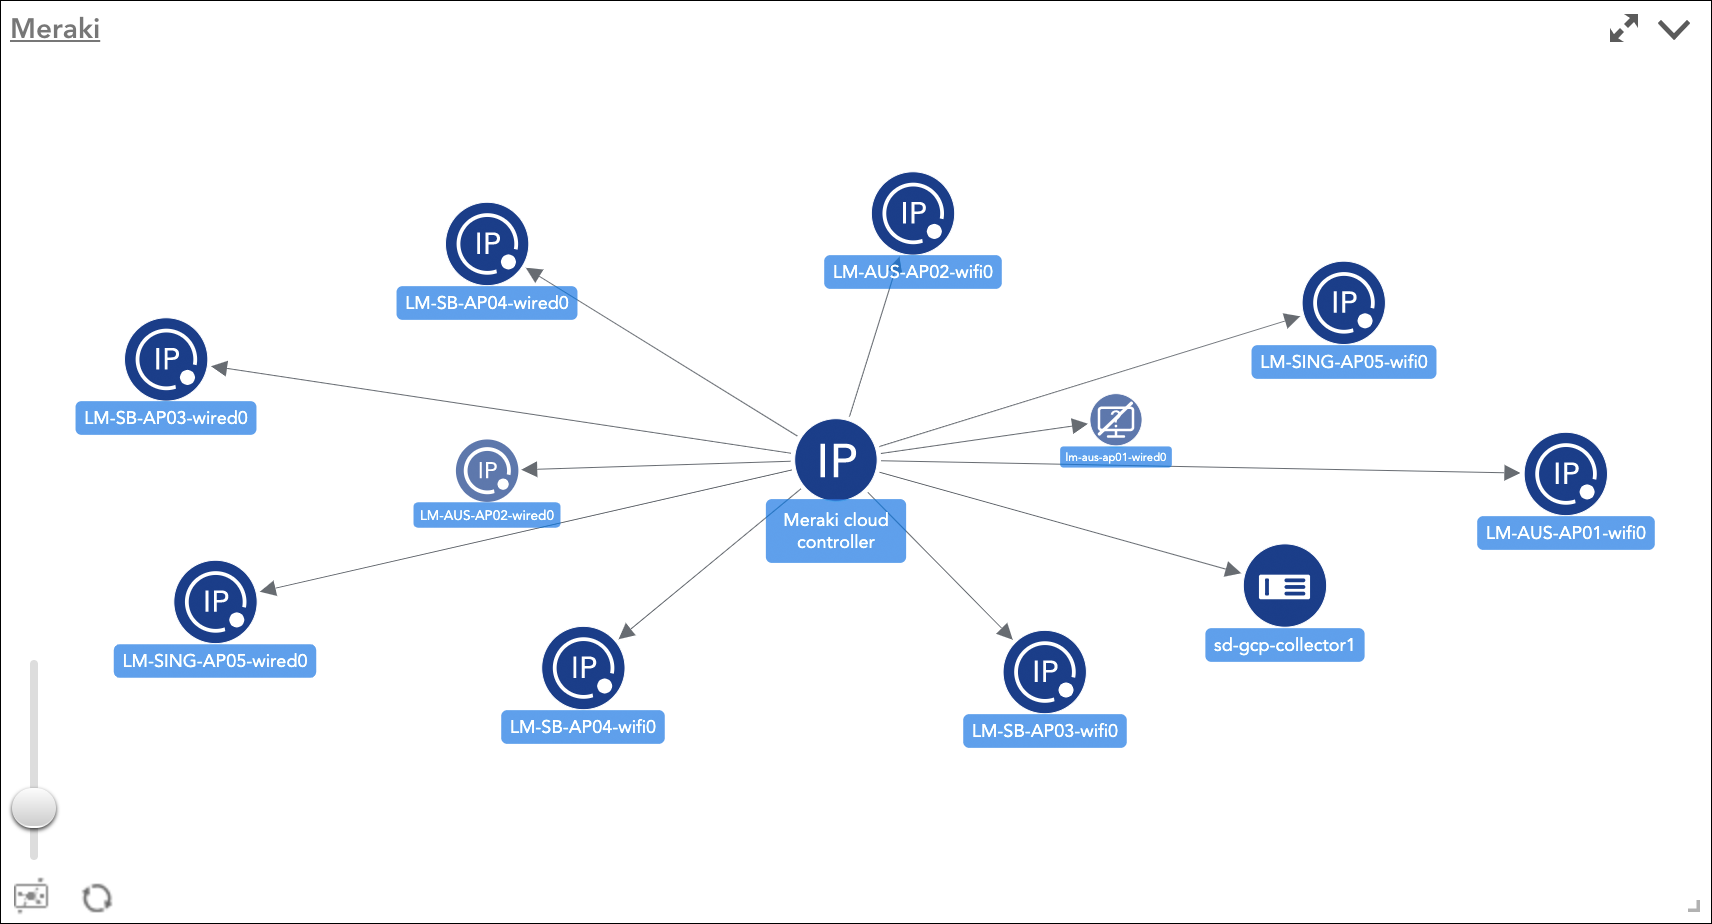
Topology Map widgets reflect the relationships among resources in your network environment. As discussed in Topology Mapping Overview, the visual context that LogicMonitor’s topology maps provide can be very beneficial to your monitoring operations, supporting efficient troubleshooting of alerts and auto-discovery of relationships among resources.
Creating Topology Map Widgets
Unlike the majority of LogicMonitor widget types, Topology Map widgets are not created from the Dash page. Rather, they are topology maps that have been created and saved on the Mapping page, as discussed in Mapping Page.
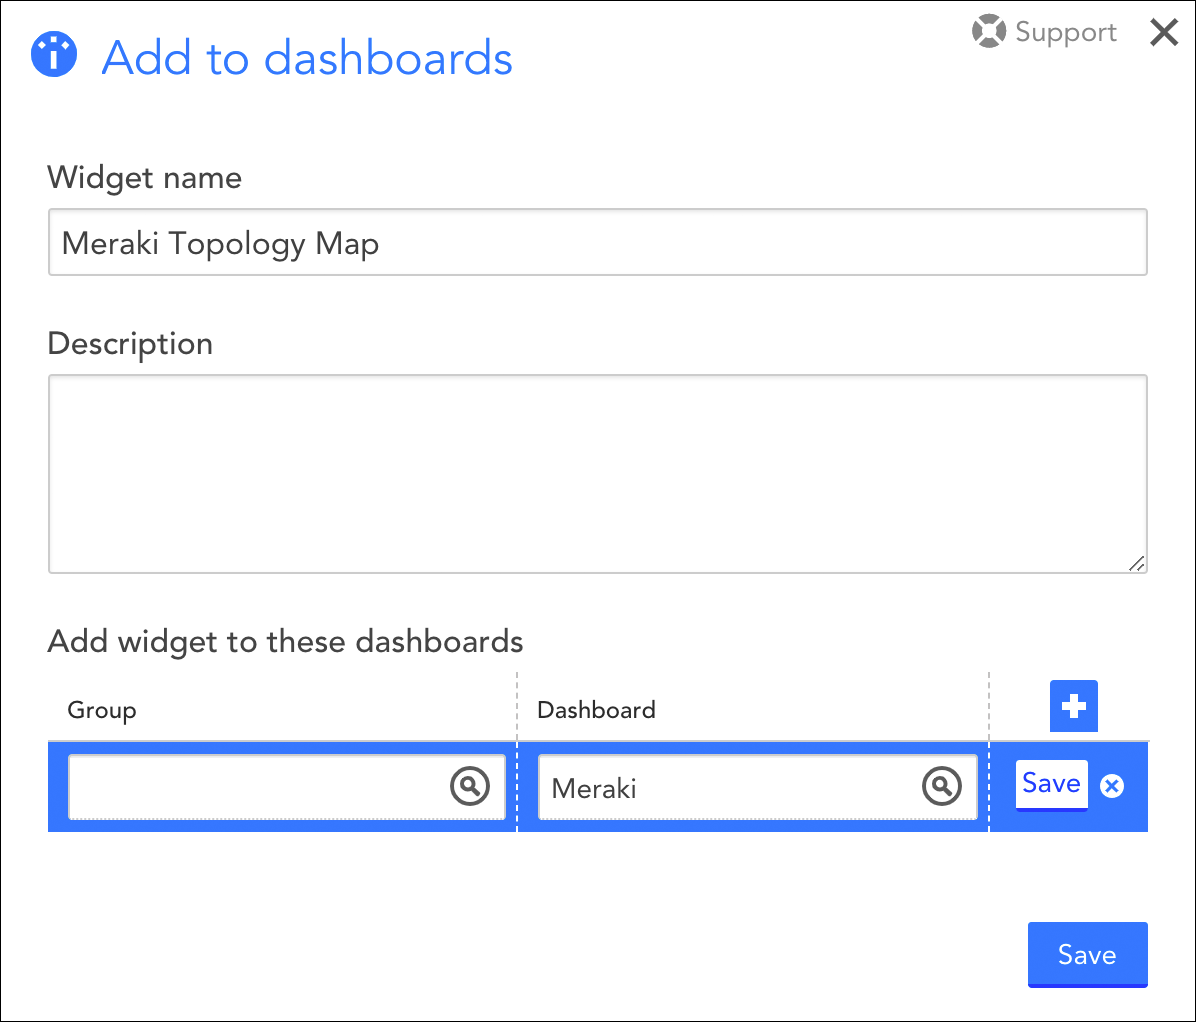
When you add a saved topology map to one or more dashboards (initiated via the add to dashboard (  ) icon on the Mapping page), you are presented with the Add to dashboards dialog.
From the Add to dashboards dialog, enter a name and description for your Topology Map widget, and assign it to one or more dashboards. Once a topology map is added to a dashboard, it effectively becomes a Topology Map widget.
Managing Topology Map Widgets
From the dashboard, you can manage Topology Map widgets similarly to how you manage other widget types (e.g. clone, set refresh frequency, set color schema, move to another dashboard, generate embedded widget links, etc.). For more information on these configurations, see Adding and Configuring Widgets.
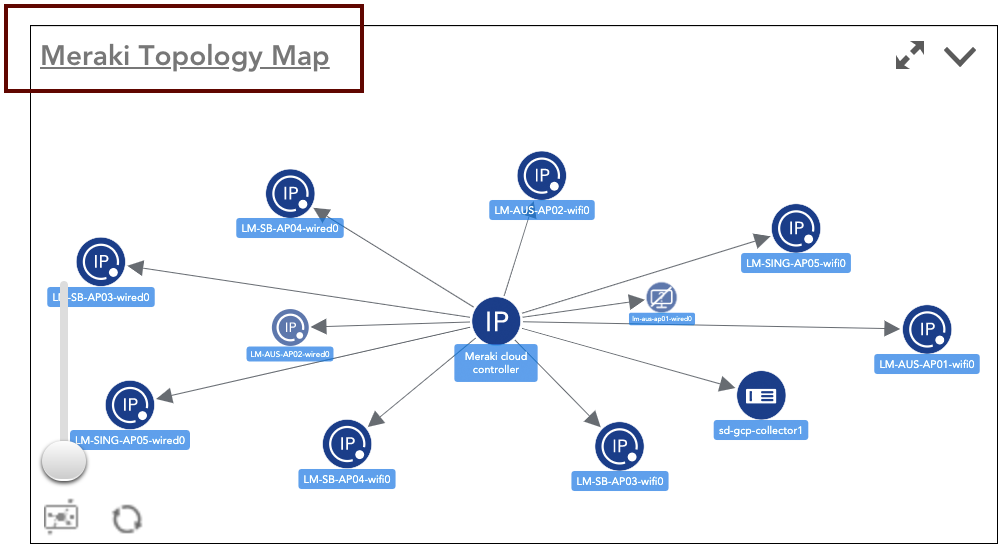
However, unlike most other widget types, you cannot manage the content of the widget from the Topology Map widget itself; changes to its content (i.e. scope of relationships displayed) as well as display settings (e.g. layout options, alert status display, etc.) must be made from the saved topology map. Since Topology Map widgets maintain a permanent connection with the topology maps they are based on, edits to the topology map automatically carry over to the widget. As shown next, you can easily link back to the topology map a Topology Map widget is based on by clicking its name in the upper left corner of the widget.


