
Troubleshooting Cron Jobmonitor
Last updated - 15 November, 2024
- Open the terminal and enter the following command:
$ crontab -e - Enter the password.
Note: If you log in as a root user, you are not be required to enter the password.
- Update the Cron Jobomonitor by running the following command:54 11 * * *
/usr/local/logicmonitor/agent/lib/lmbatchjobwrapper.sh <agent ip>:7214 nginx.corp.exactasystems.co "CORP-NGINX GixyTest 6am Daily" /etc/scripts/gixytest.sh > /<path>/anyfile.log 2>&1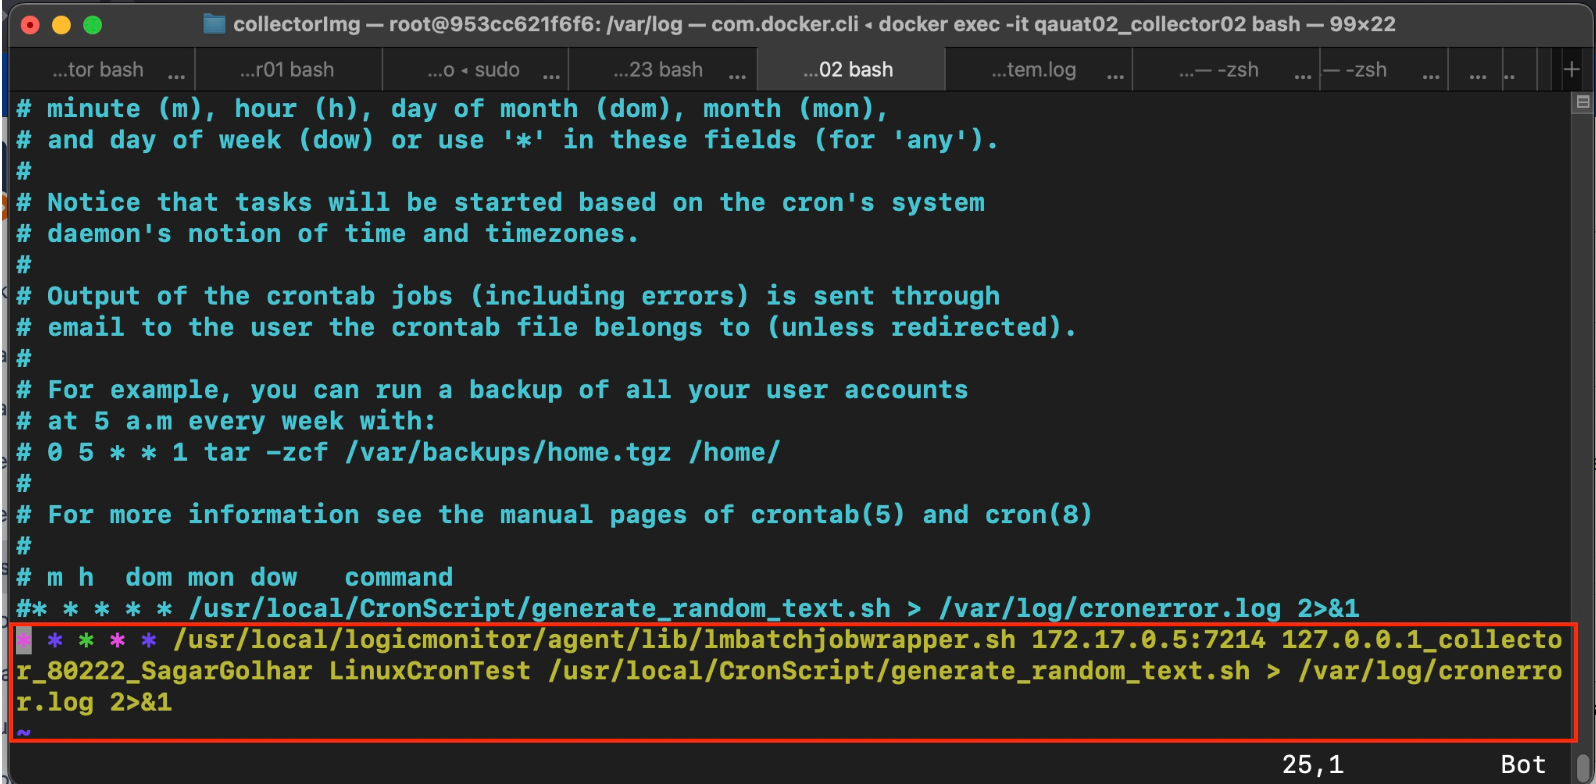
- To apply the changes, restart the Cron Jobmonitor by running the following command:
sudo systemctl restart cron - To see if the Cron jobs are running correctly, run the following command:
tail -f filename.log.
- To enable the Cron Jobmonitor logging, open
/etc/rsyslog.d/50-default.conffile by running the following command and uncommenting the code:# Uncomment the following line to enable cron logging to a separate file cron.* /var/log/cron.log cron.* /var/log/cron.log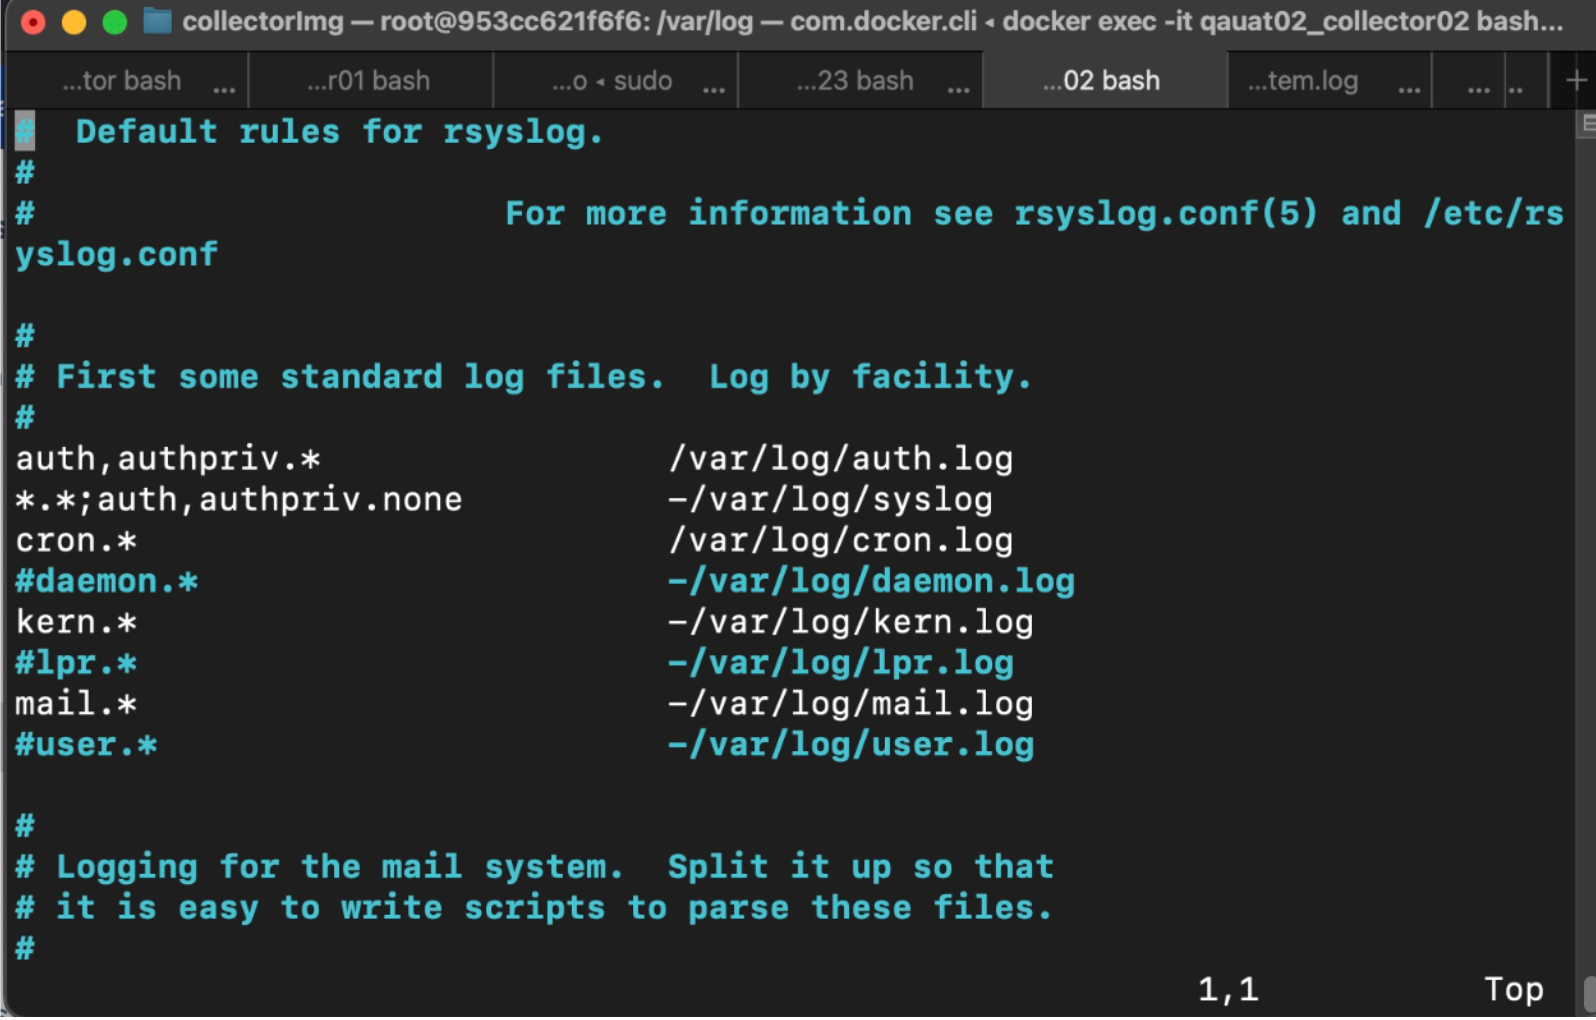
- Restart the Syslog service to ensure the logging configuration is updated and functional by running the following command:
sudo systemctl restart rsyslog - In the LogicMonitor portal, navigate to Resource Tree > select the resource on which jobmonitor module is applied.
- Select Job Monitor Executions tab.
The Cron Jobmonitor details are displayed.
