
Microsoft Teams Integration using Custom HTTP
Last updated - 14 August, 2024
Microsoft has deprecated Microsoft Teams incoming webhook, therefore it is not possible to create new incoming webhook. To address this issue, you can leverage the custom HTTP integration to create new Microsoft Teams integrations.
Note: It is a temporary workaround until the official Microsoft Teams integrations is updated to work with Workflows.
Limitation: Use custom HTTP for Microsoft Teams integration only to get alert notifications. Using this integration, it is not possible to perform any other actions on alerts from Microsoft Teams.
To create Microsoft Teams intgeration using custom HTTP integration, do the following:
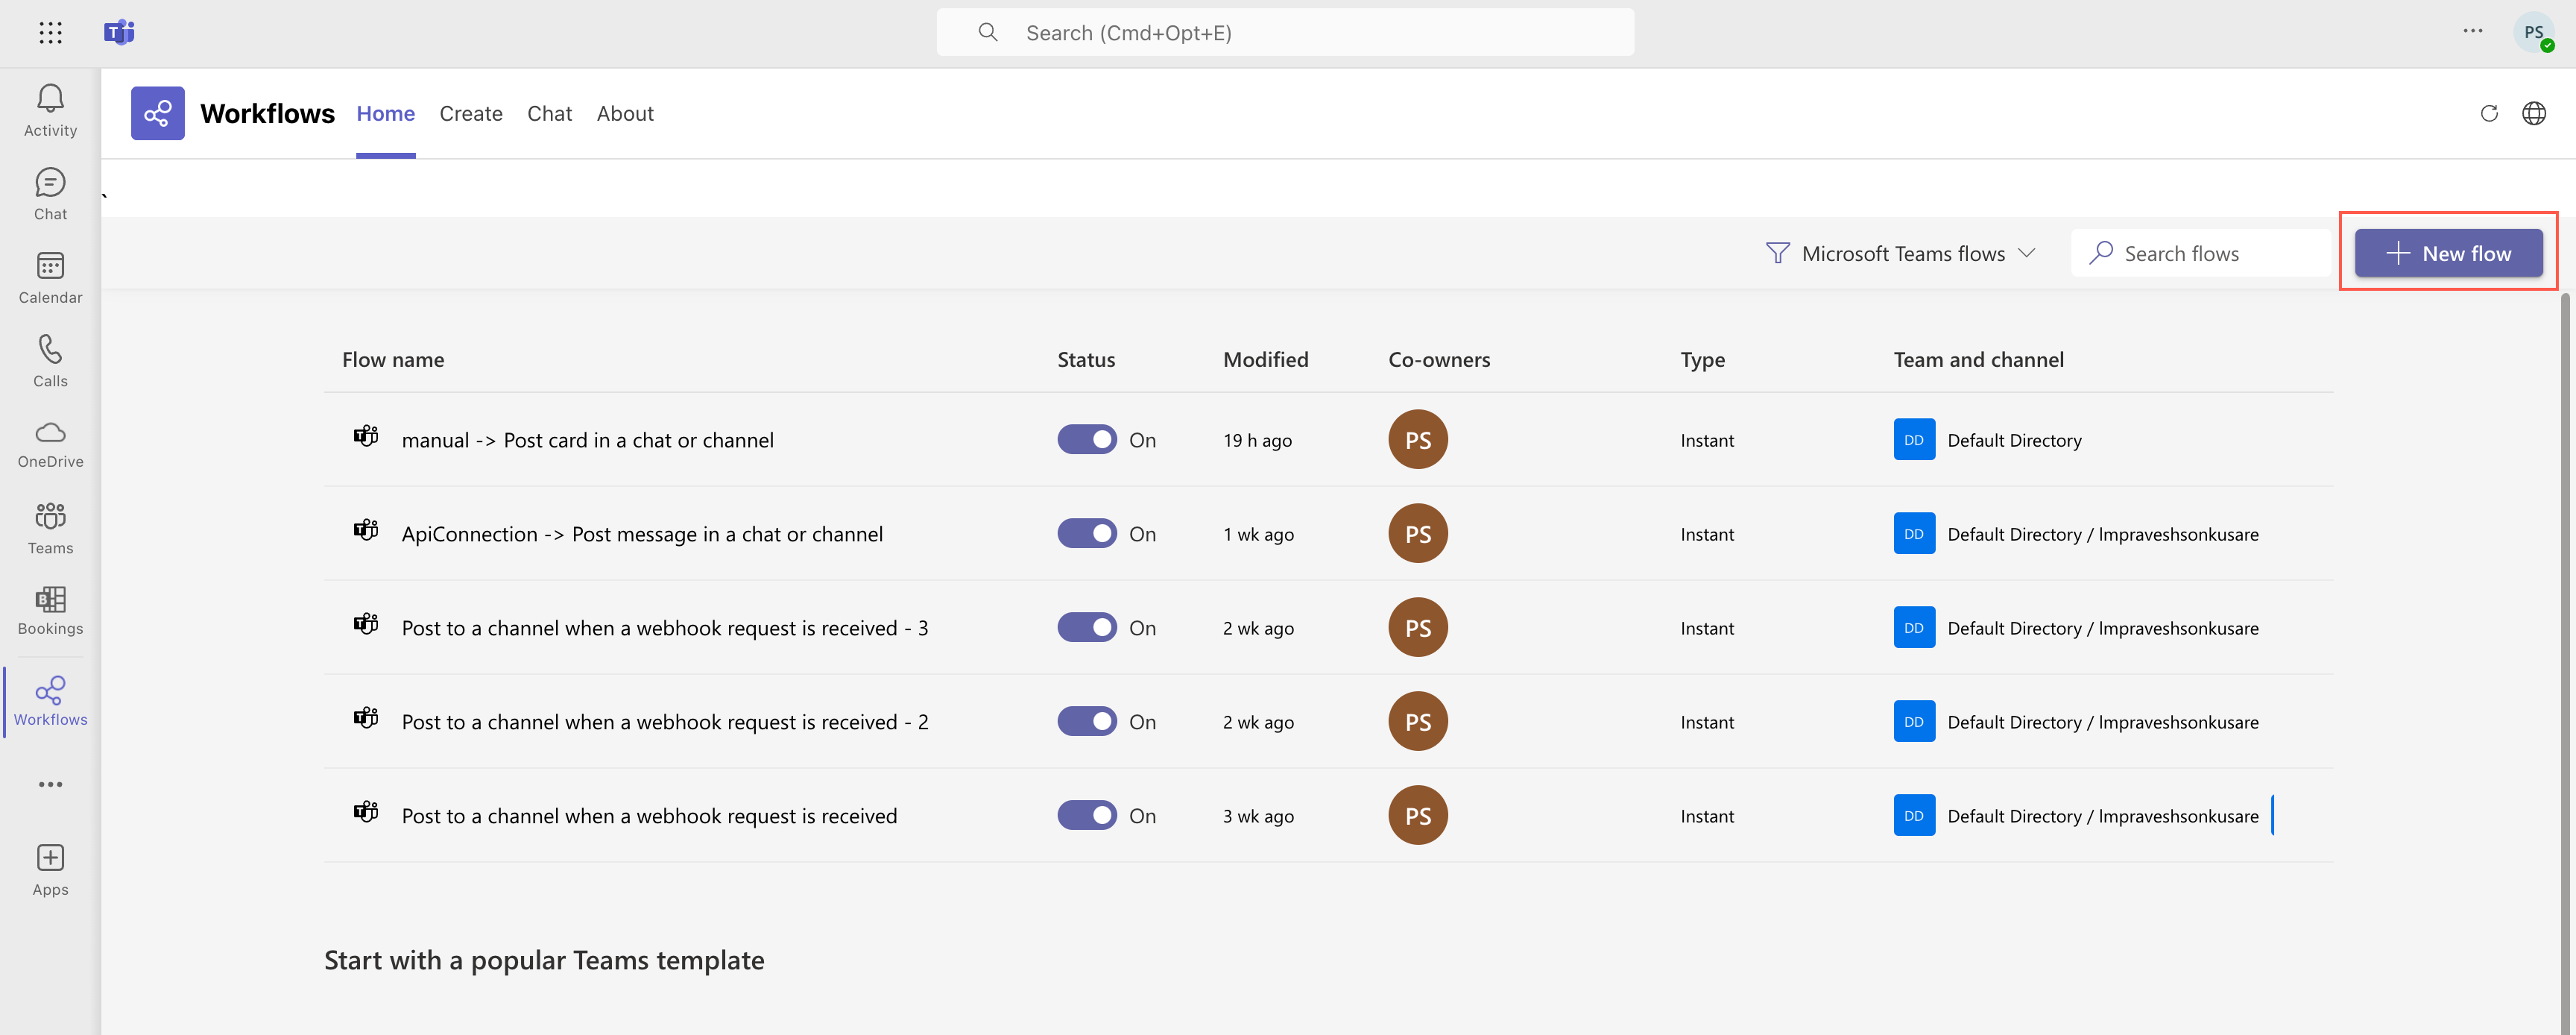
- In Microsoft Teams, go to the Workflows app, and then select + New flow.
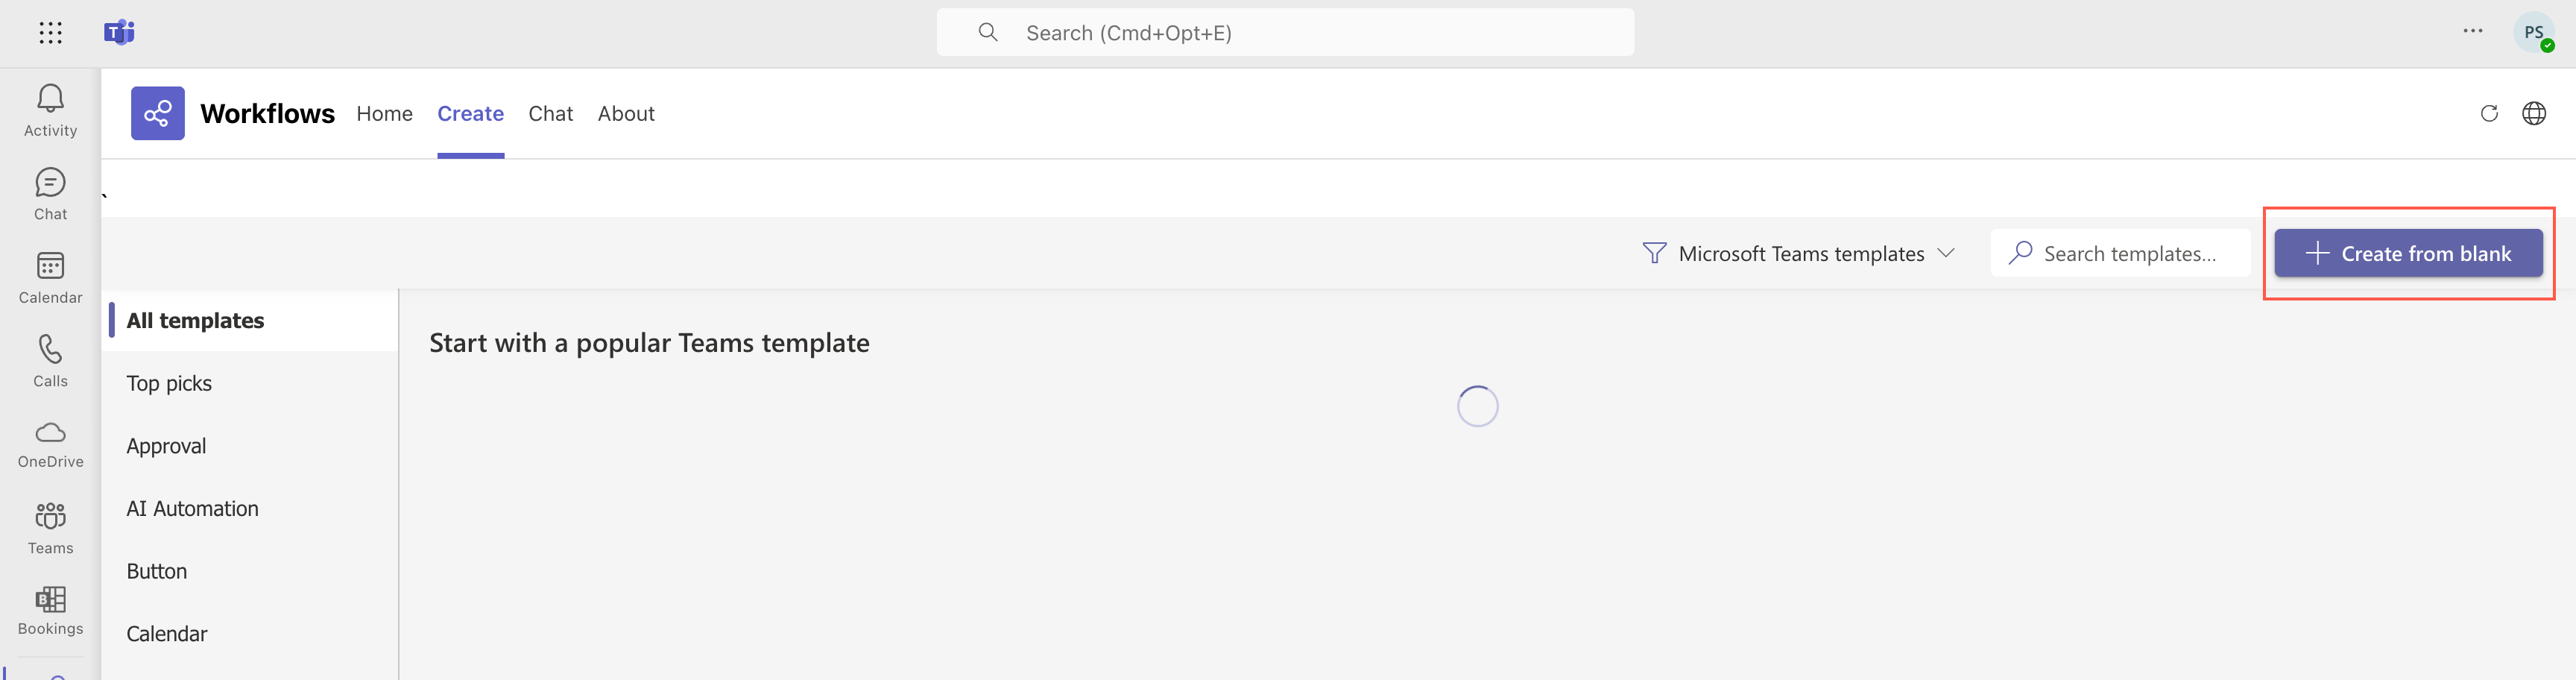
- On the Create tab, select + Create from blank.
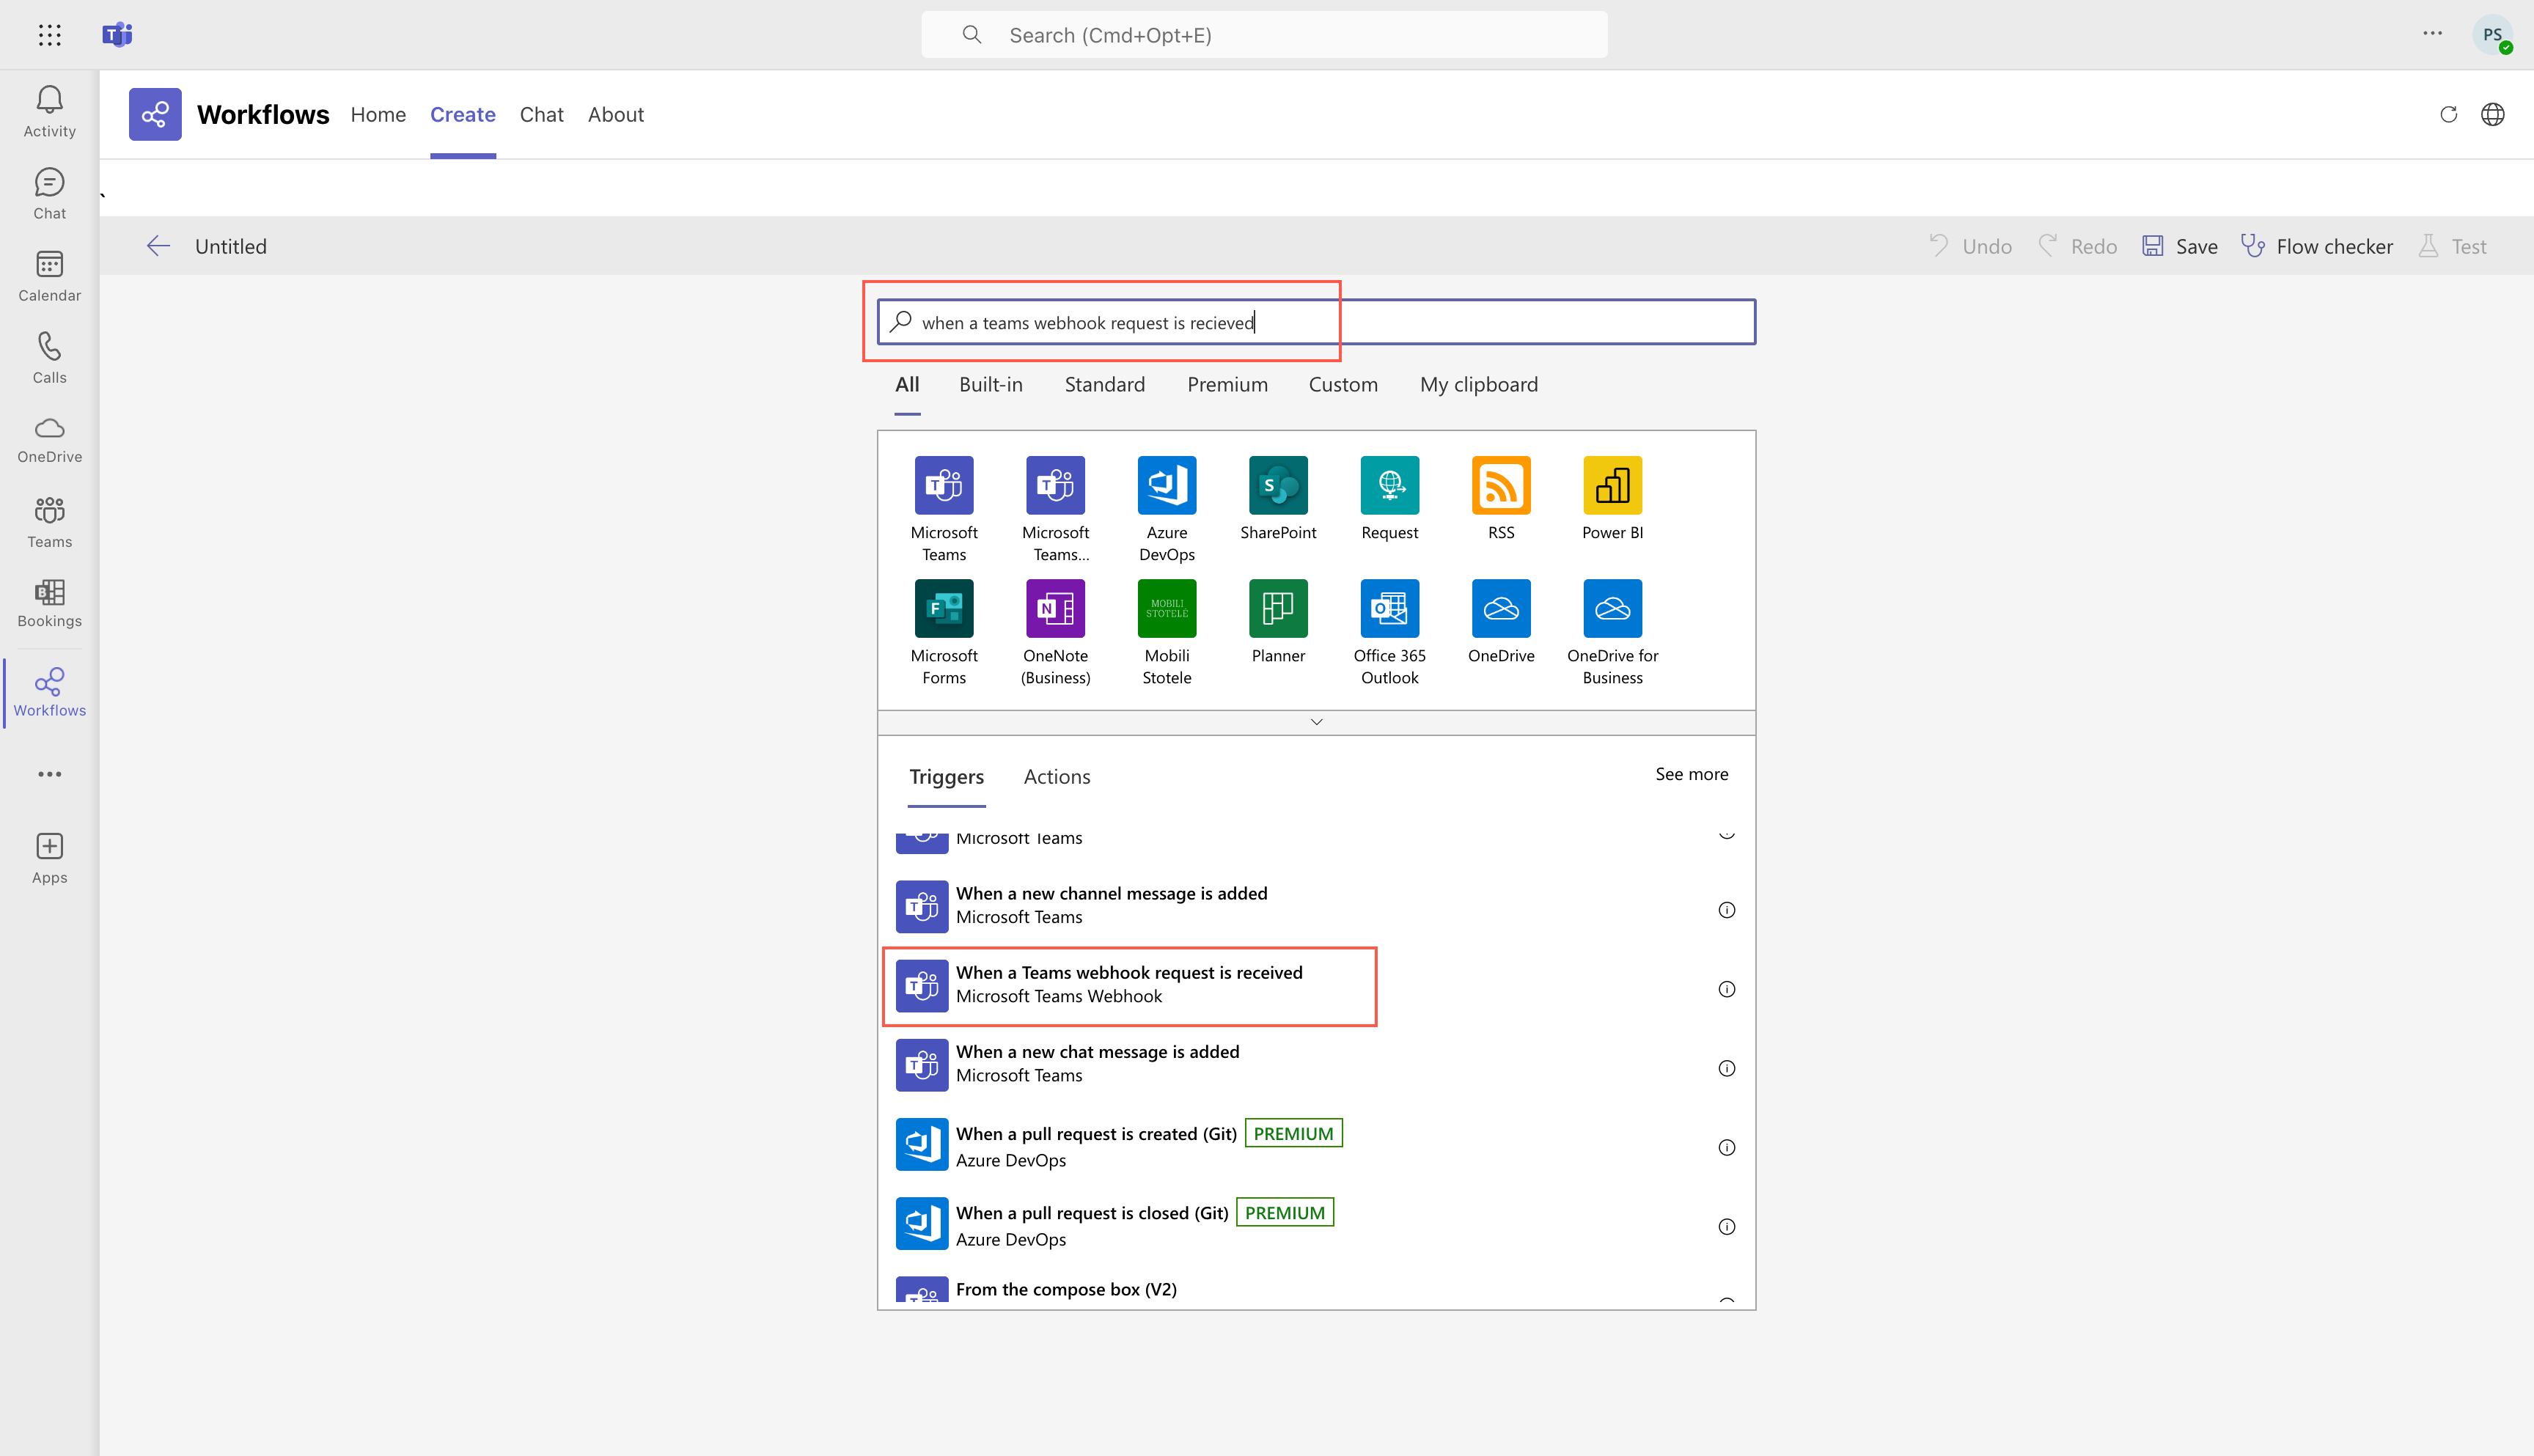
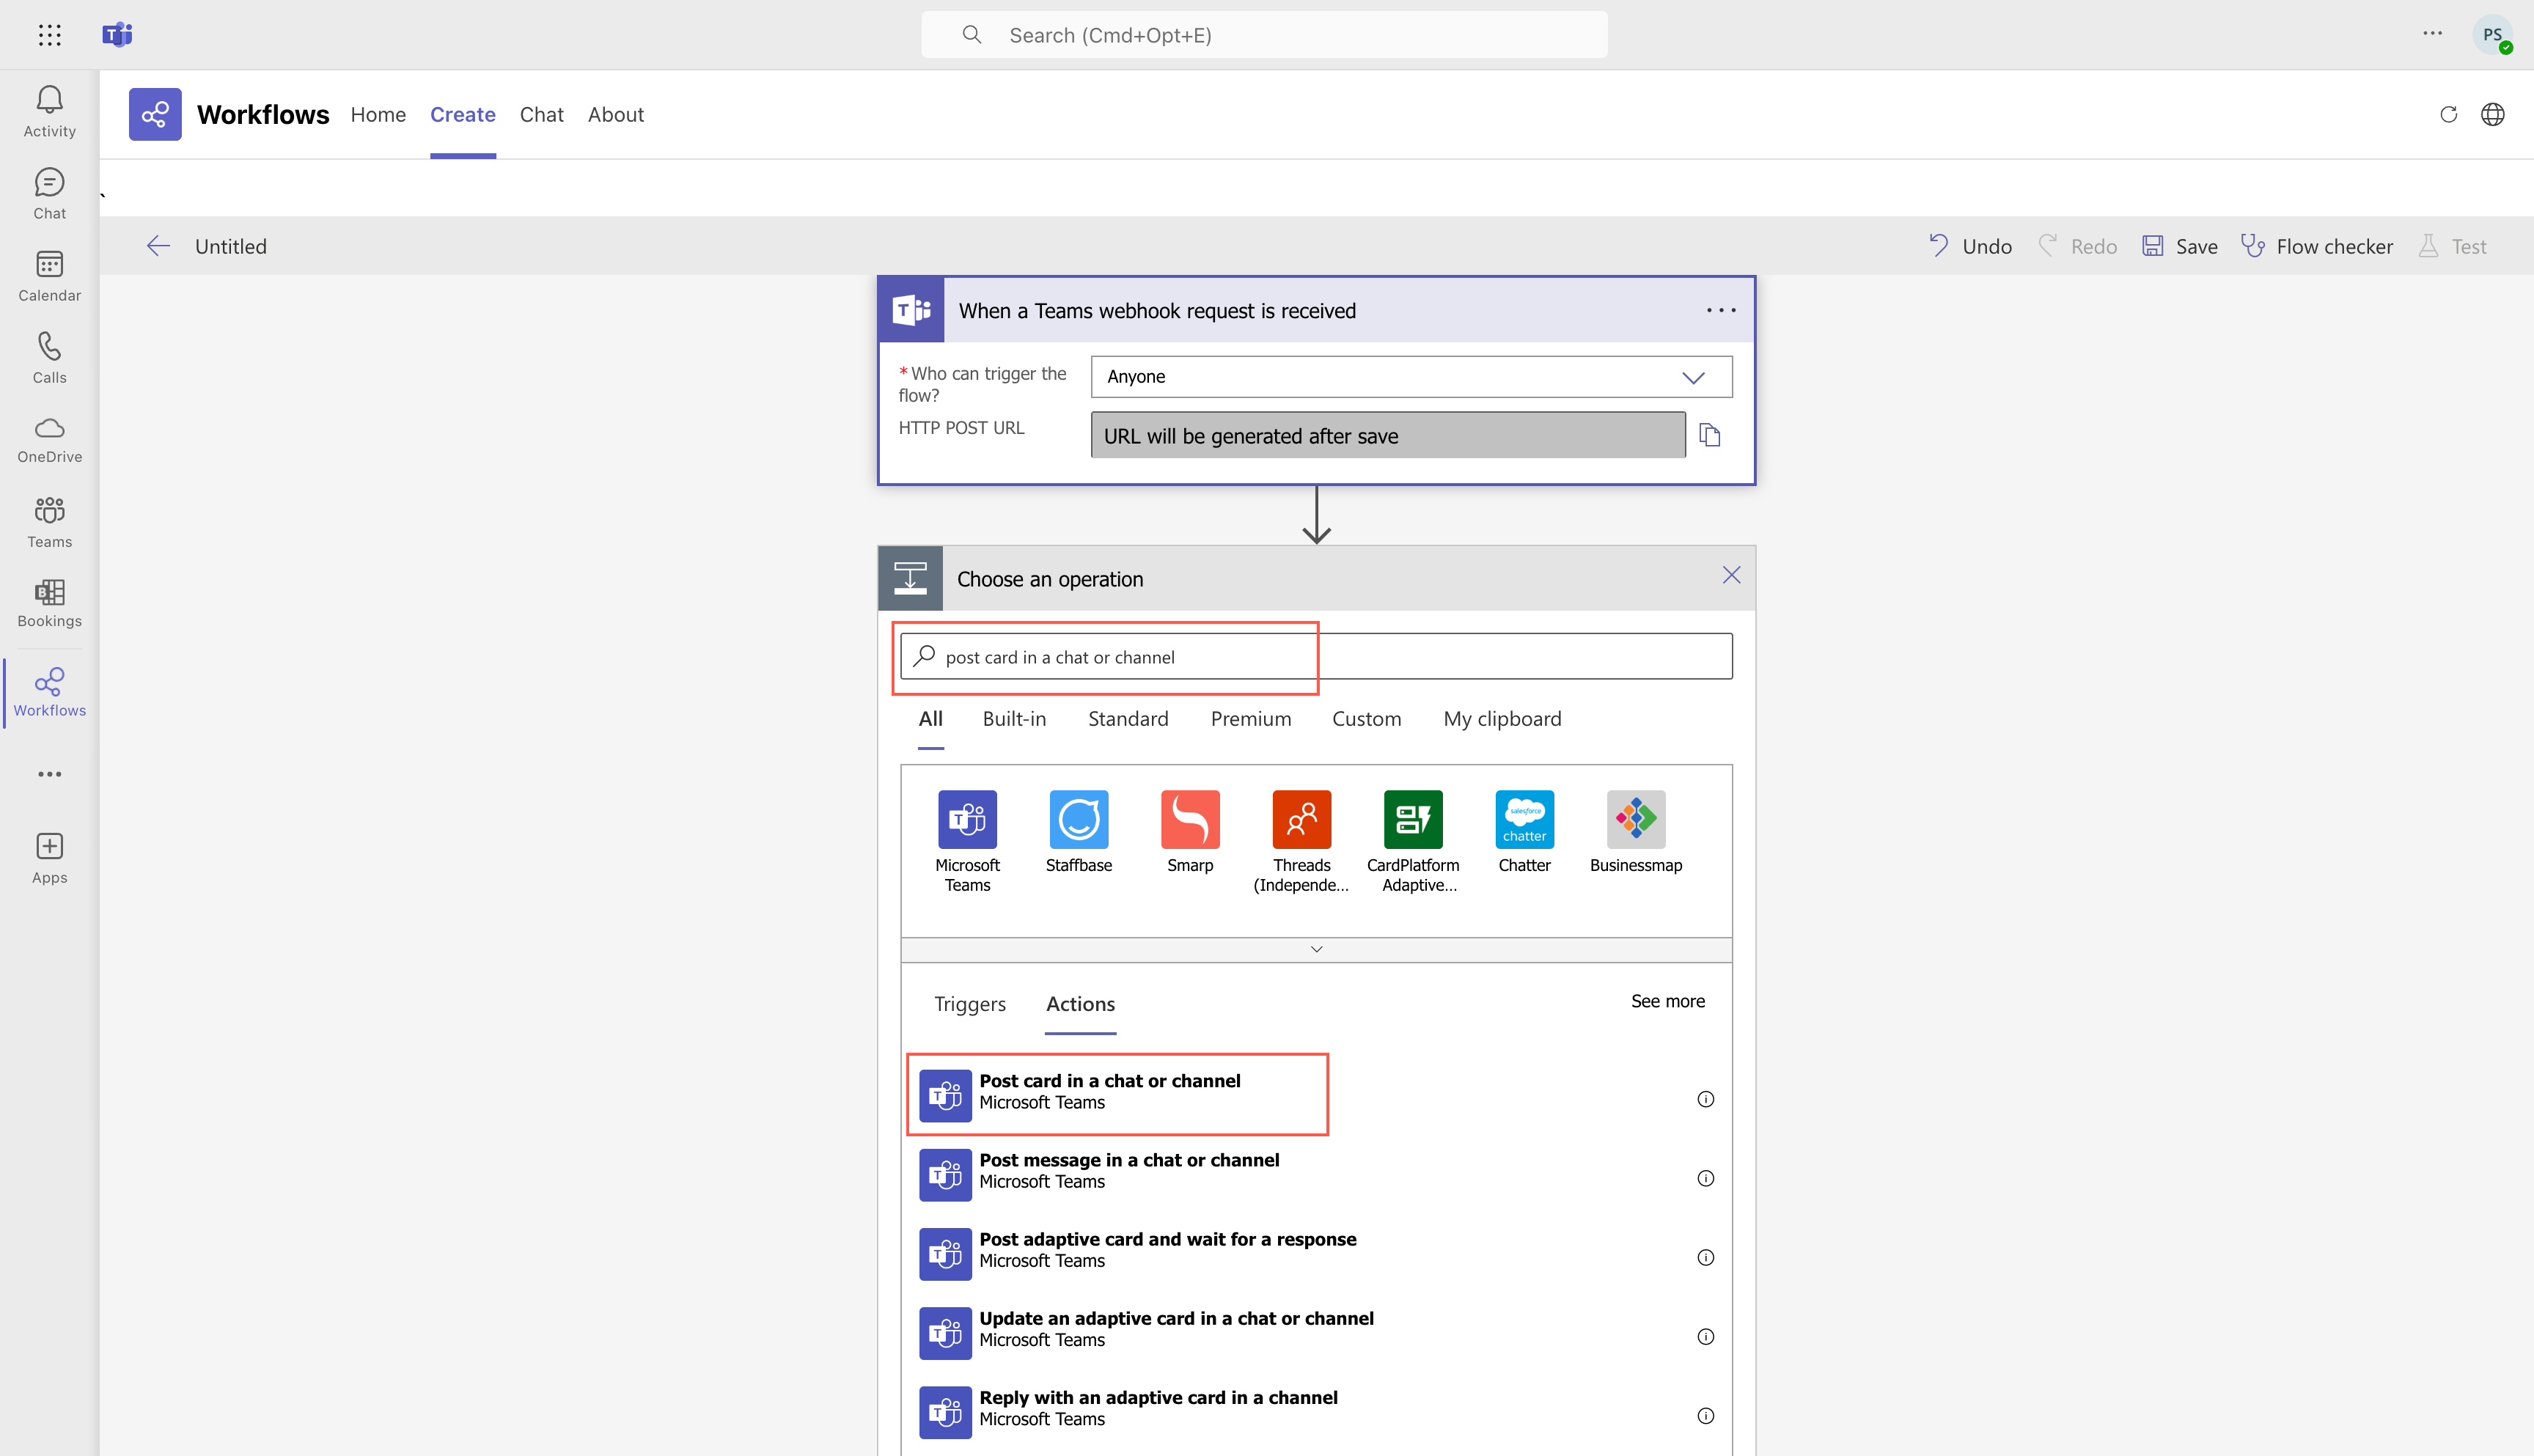
- In the search field, search for When a Teams webhook request is received, and then from Triggers, select When a Teams webhook request is received.
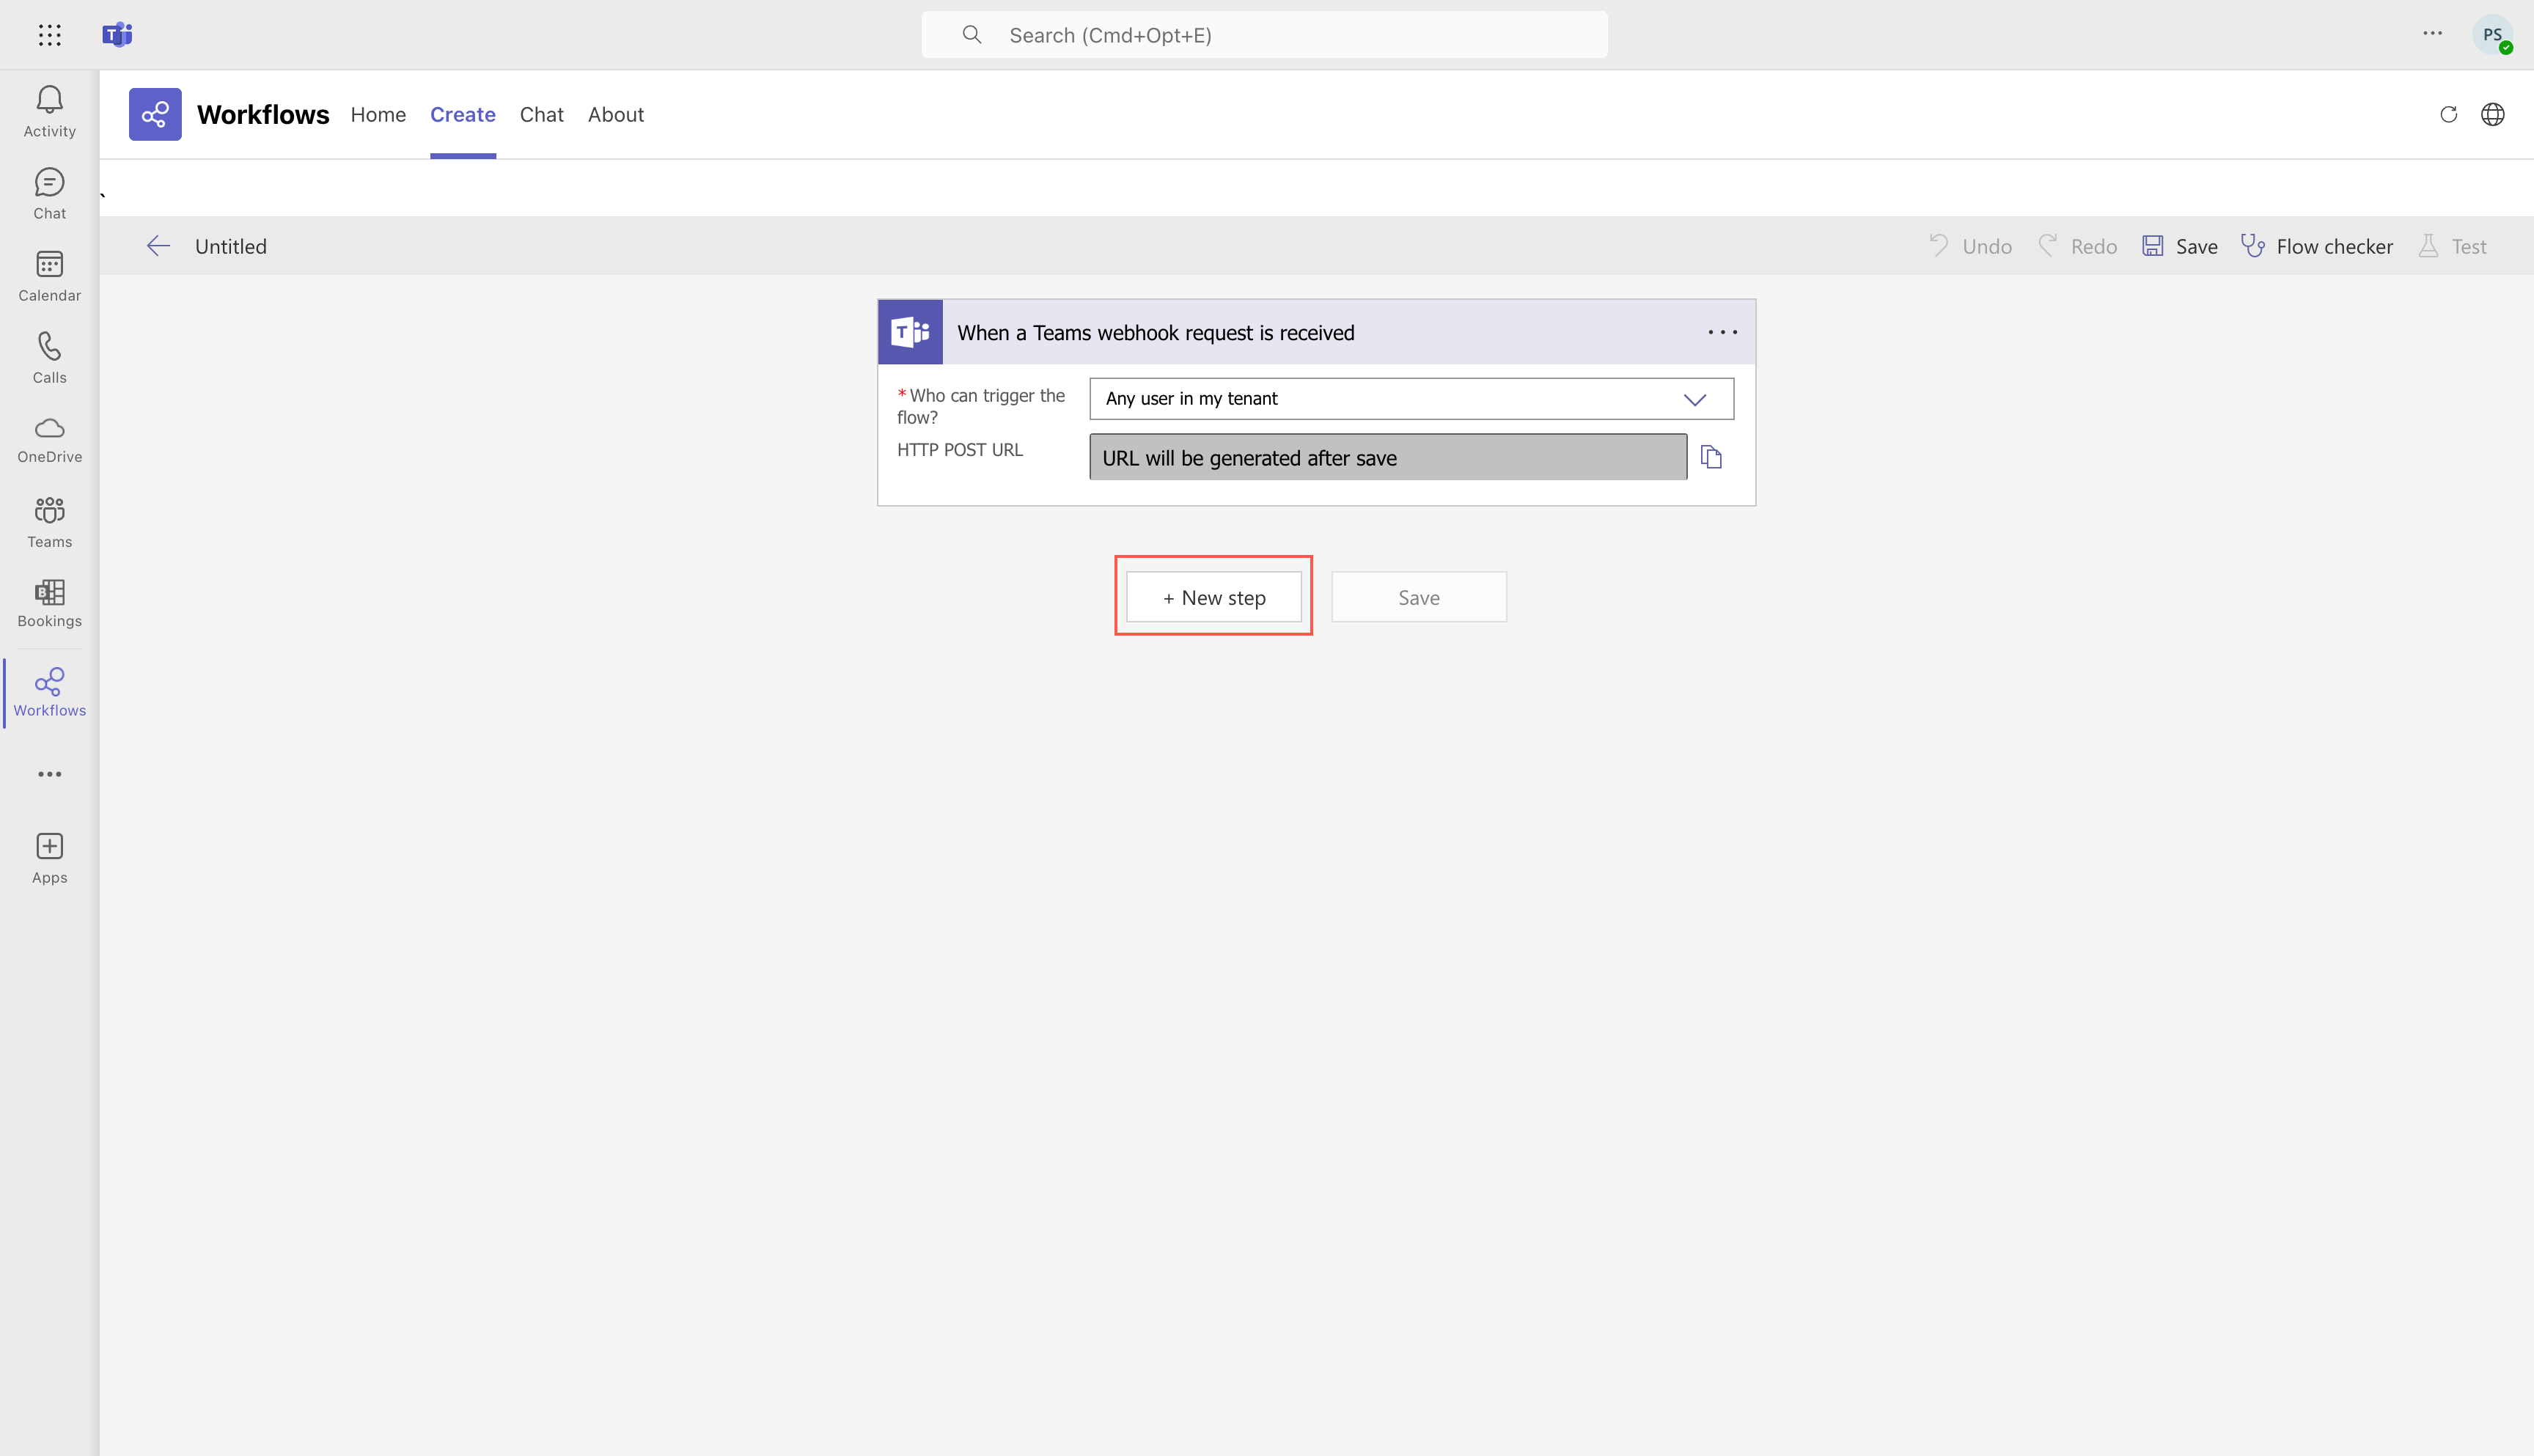
- Select + New step.
- Under Choose an operation, search for post card in a chat or channel, and then from the Actions tab, select Post card in a chat or channel.
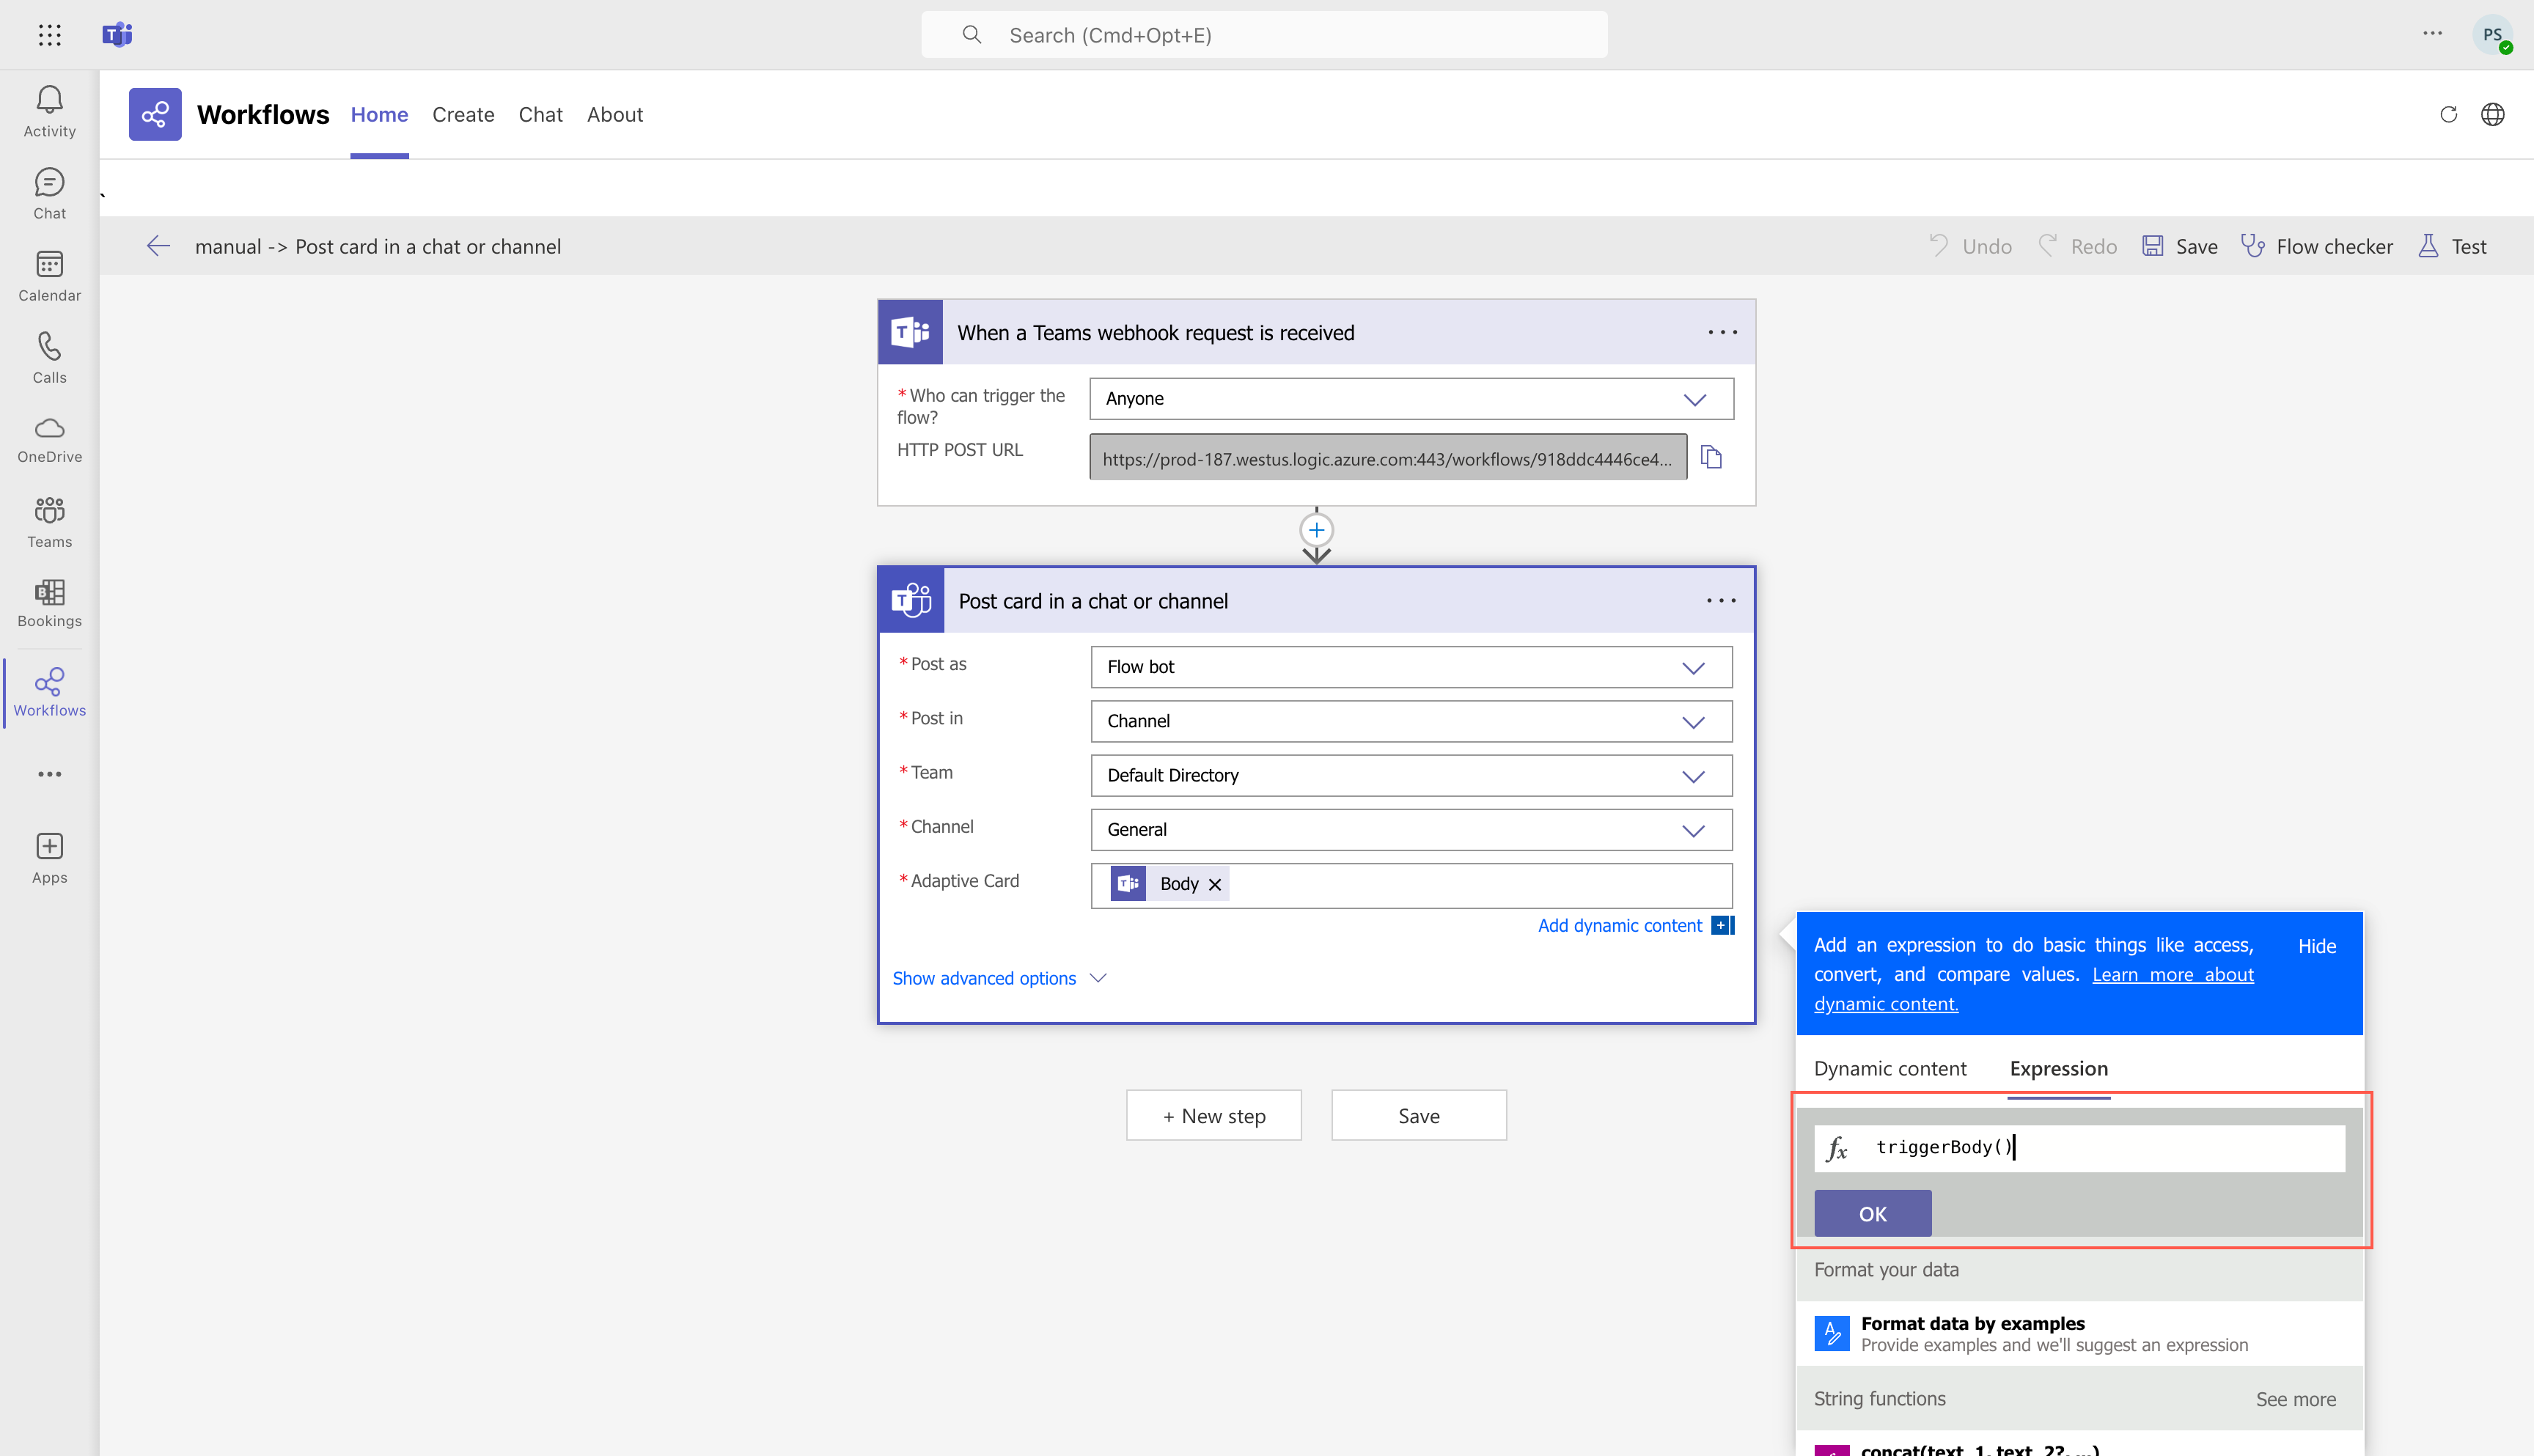
- Enter the details for Post as, Post in, Team, and the Channel fields.
- Select the Adaptive card field, and then in the Expression, enter triggerBody(), and select OK.
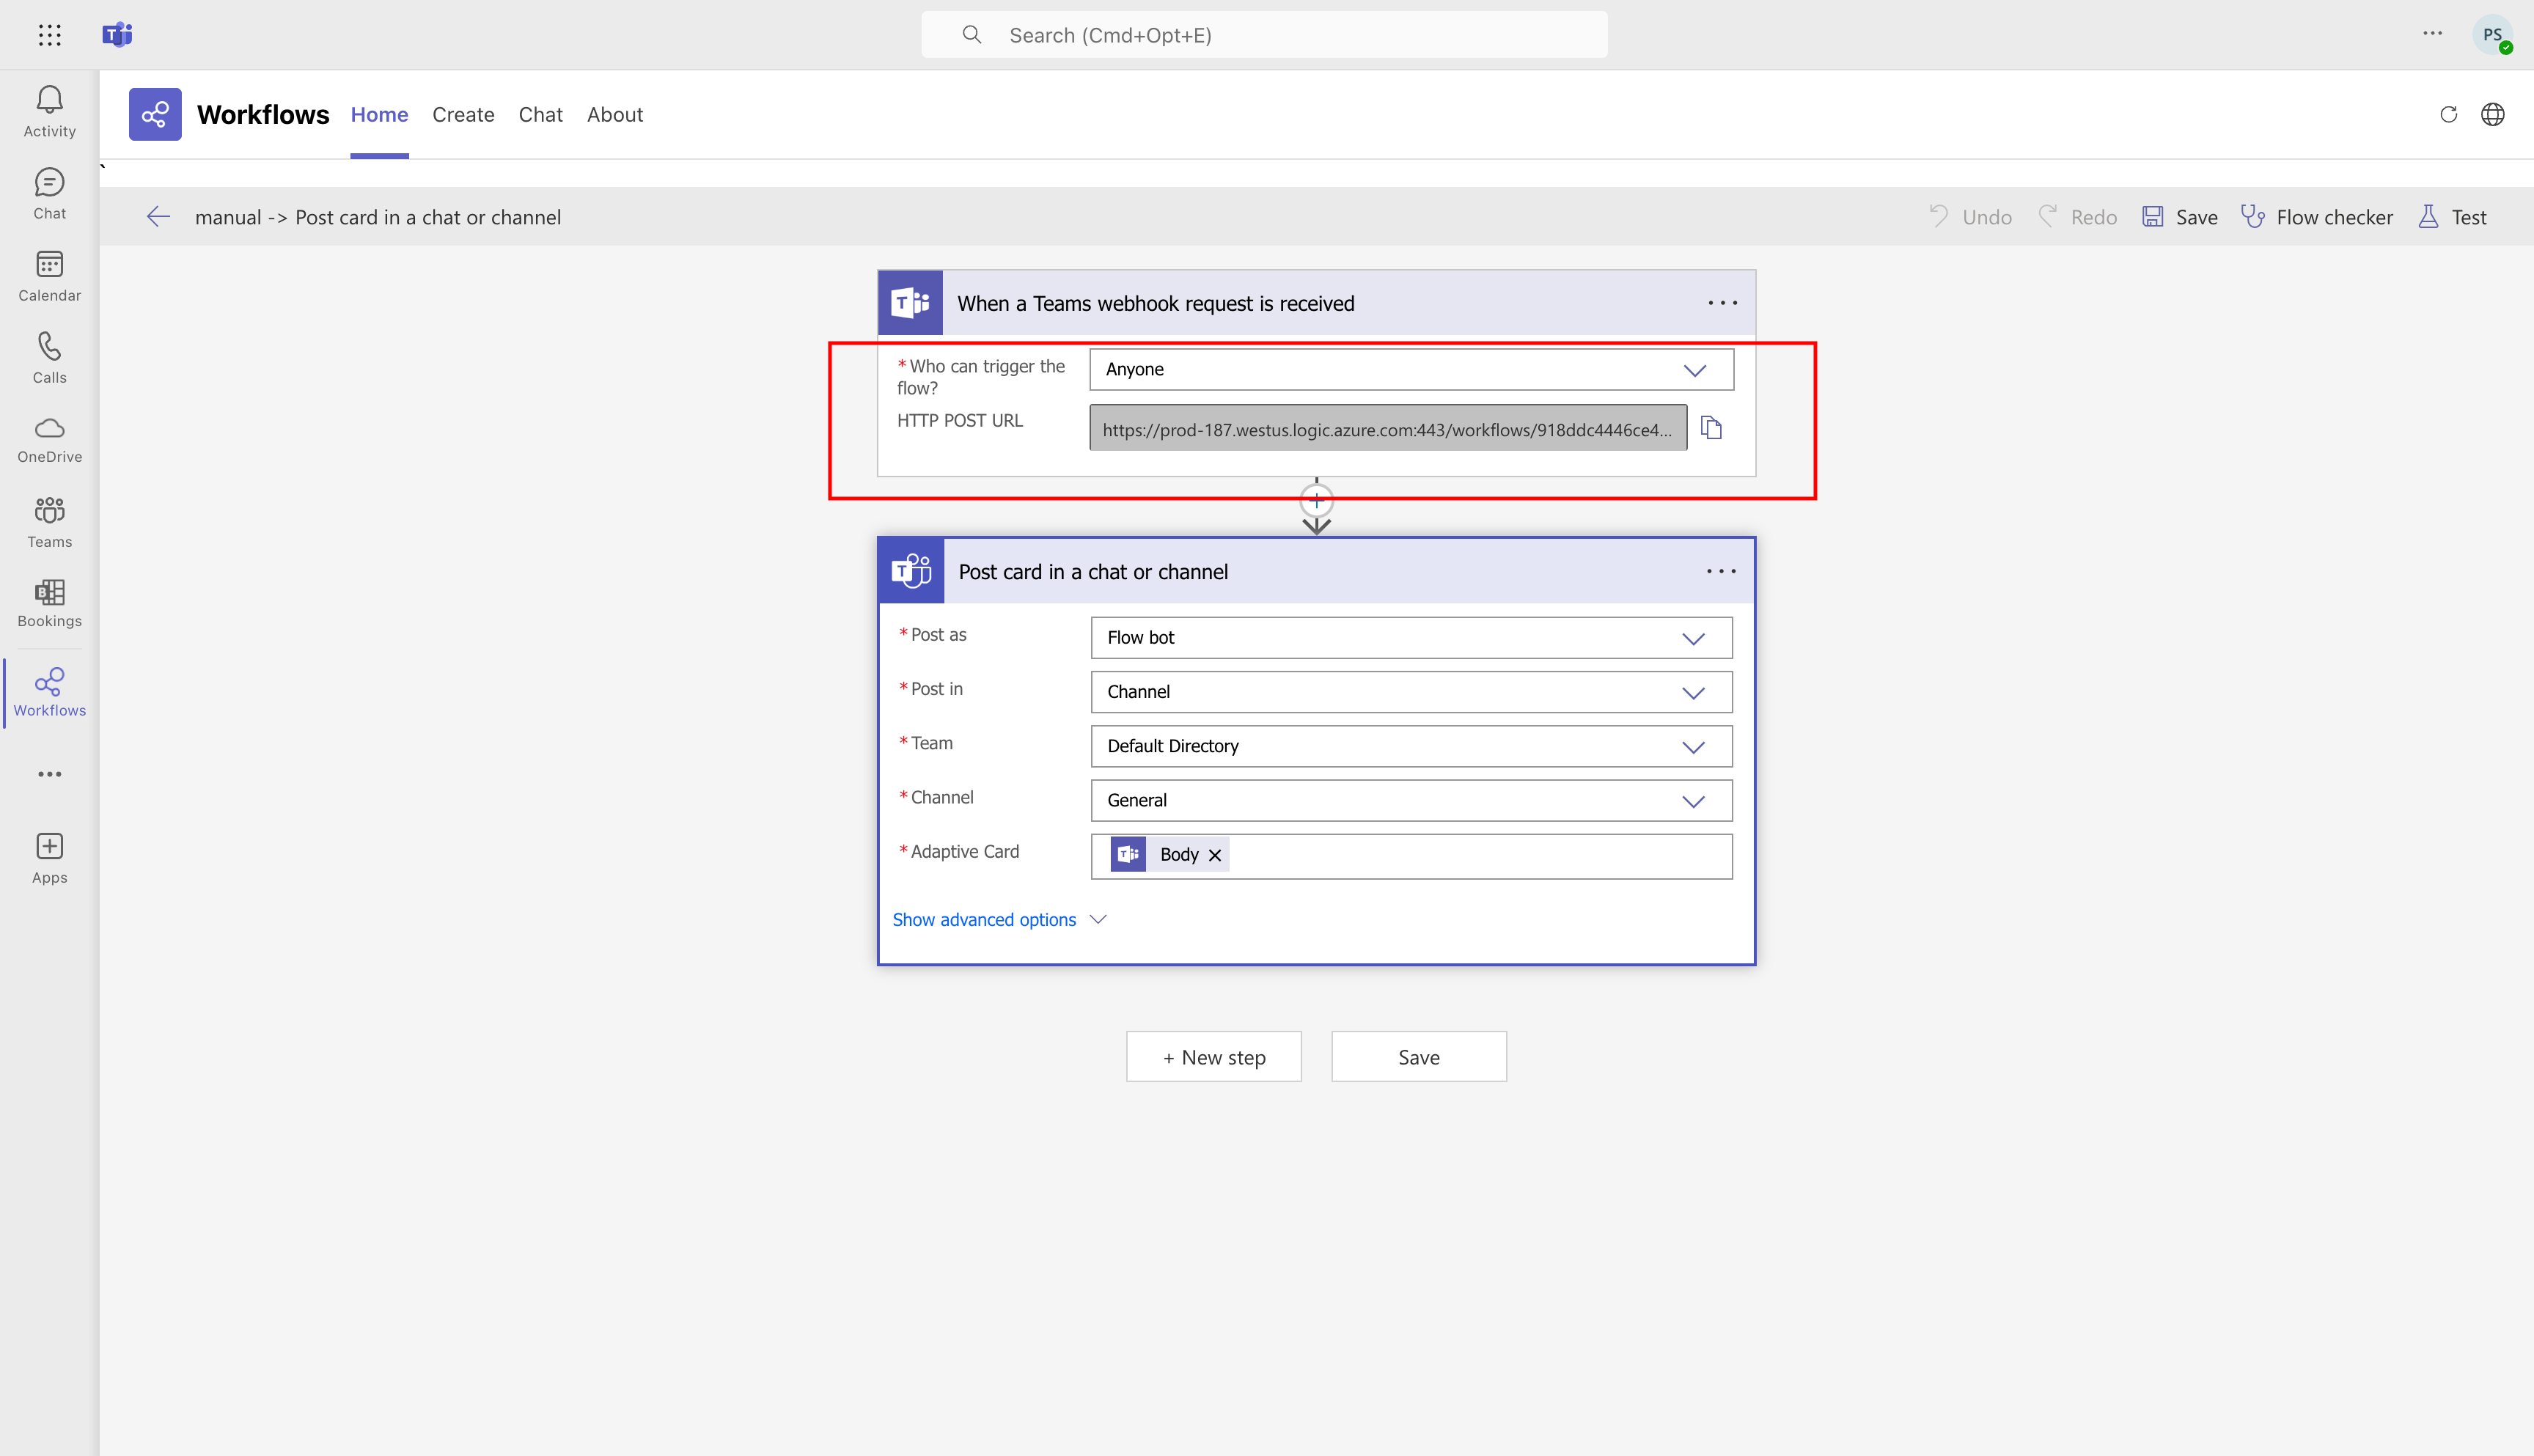
- Select Save.
- From HTTP POST URL, copy the generated URL.
Important: You need to use this URL in the Custom HTTP integration.
- In LogicMonitor, navigate to Settings > Integration > Custom HTTP Delivery.
- For HTTP Method, select HTTP Post.
- In the URL field, select https://, and then paste the URL copied from the Microsoft Teams Workflows app.
- From the Alert data section, select Raw.
- In the Format field, select JSON, and then in the Insert Token field, paste the following JSON.
{
  "$schema": "http://adaptivecards.io/schemas/adaptive-card.json",
  "msteams": {
    "width": "Full"
  },
  "type": "AdaptiveCard",
  "body": [
    {
      "style": "good",
      "Items": [
        {
          "Columns": [
            {
              "width": "auto",
              "Items": [
                {
                  "size": "Small",
                  "type": "Image",
                  "url": "https://images.g2crowd.com/uploads/product/hd_favicon/1487566436/logicmonitor.png"
                }
              ],
              "type": "Column"
            },
            {
              "width": "auto",
              "Items": [
                {
                  "weight": "Bolder",
                  "text": "LogicMonitor ##LEVEL## Alert - ##ALERTID##",
                  "type": "TextBlock",
                  "wrap": true
                },
                {
                  "spacing": "None",
                  "weight": "Lighter",
                  "text": "##START##",
                  "type": "TextBlock",
                  "wrap": true,
                  "isSubtle": true
                }
              ],
              "type": "Column"
            }
          ],
          "type": "ColumnSet"
        }
      ],
      "type": "Container"
    },
    {
      "Items": [
{
          "type": "FactSet",
          "facts": [
            {
              "title": "Logicmonitor",
              "value": "[Link to Alert](##ALERTDETAILURL##)"
            }
          ]
        },         {
          "type": "FactSet",
          "facts": [
            {
              "title": "Message",
              "value": "##MESSAGE##:##HOST####ADMIN.EMAIL####ADMIN.PHONE##"
            }
          ]
        }
      ],
      "type": "Container"
    }
  ],
  "version": "1.0"
}- Select Save.
