
Map Widget
Last updated - 08 December, 2025
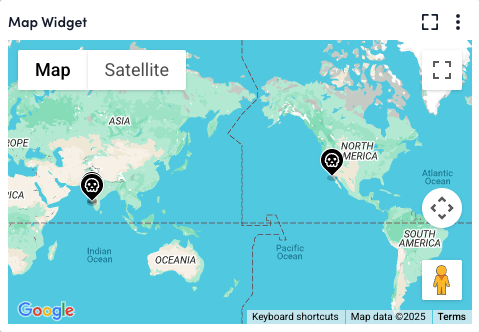
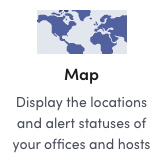
LogicMonitor can display the location of your offices and hosts on a Google map, along with their alert statuses. This feature uses the Google Maps API and depends on a custom location property being set per host that you want to display. For more information on creating properties, see Resource and Instance Properties.
Note: Note: Use street addresses in the location property and avoid business names. For more information, see Geocoding request and response from Google.
Location points are displayed as nodes in the map widget. A maximum of 400 location points can be added to the Map widget.
Note: The node animation is disabled when there are over 100 location points.
Configuring a Map Widget
- In LogicMonitor, navigate to Dashboards, select a current Dashboard or create new, and then add a Map widget.
For more information, see Dashboard Creation.
For more information, see Widget Creation. - Configure the Basic Information settings.
For more information, see Configuring Standard Widget Settings.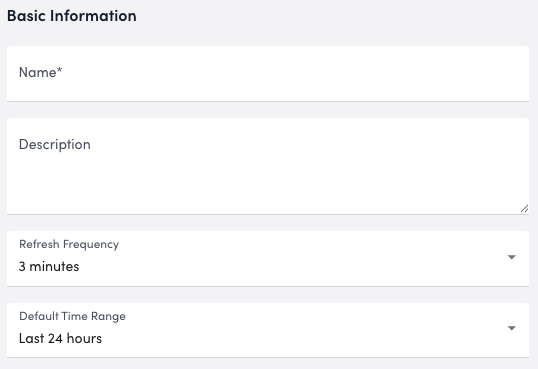
- In the Map Contents settings, do the following:
- In the Alert Statuses to Display settings, toggle on the statuses types you want to display on the widget (all statuses are toggled on by default).
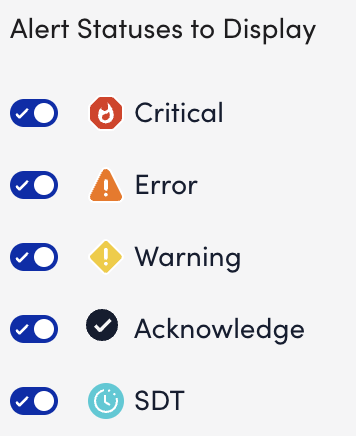
If a resource does not meet the selected alert severity, it displays on your map as healthy, represented with a green icon. - In the Resource Group settings, do the following:
- Select Add Record.
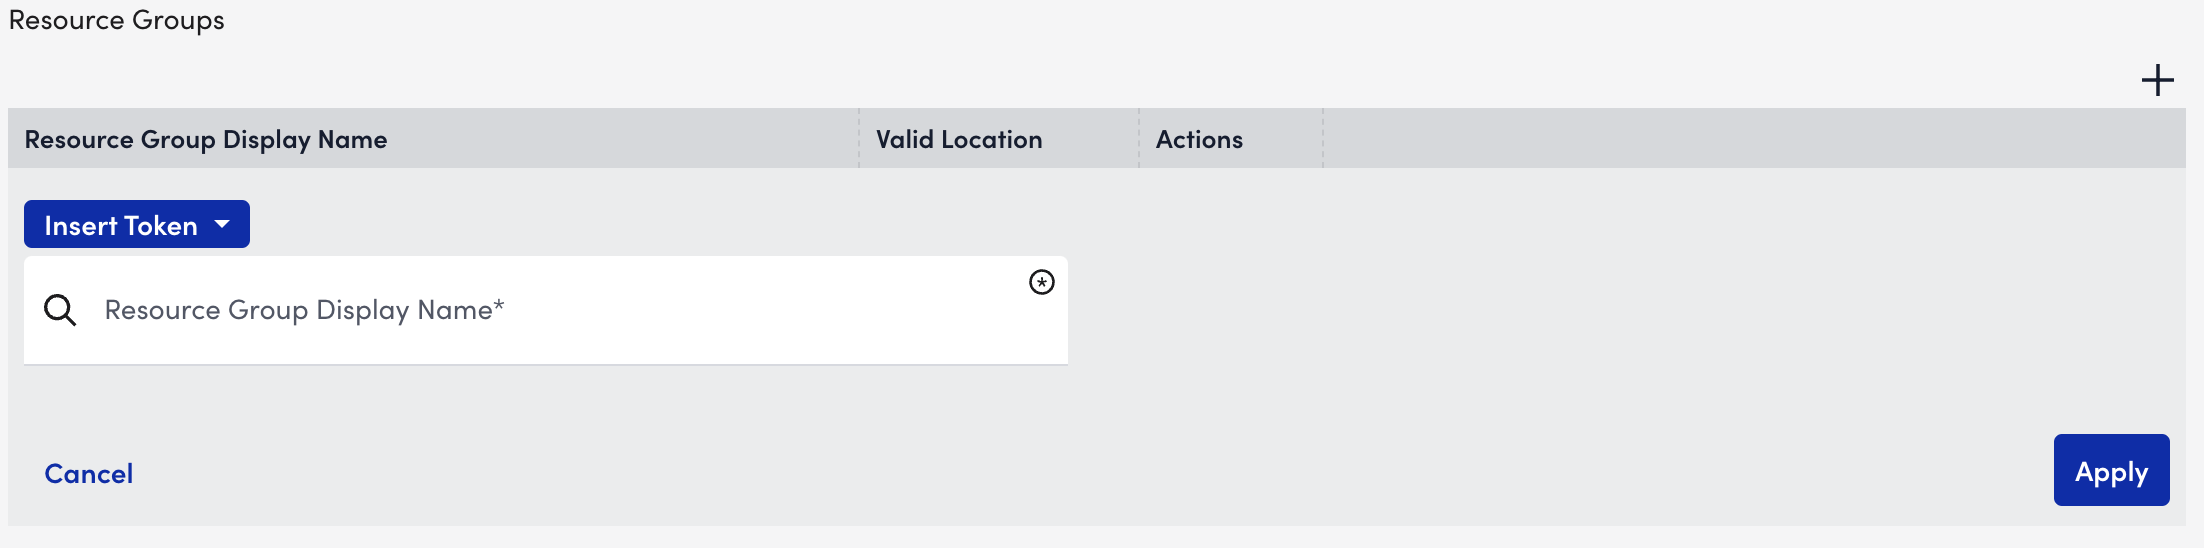
- Enter the name of a resource group.
You can use a glob expression * to select all resource groups. - Select Apply.
You can add as many resource groups as needed.
- Select Add Record.
- In the Resources settings, do the following:
- Select Add Record.
- In Resource Group Display Name, enter the name of a resource group and select it from the list.
You can enter “*” or use a glob expression to select all resource groups available. - In Resource Display Name, enter the name of a resource and select it from the list.
You can enter “*” or use a glob expression to select all resources within the selected group.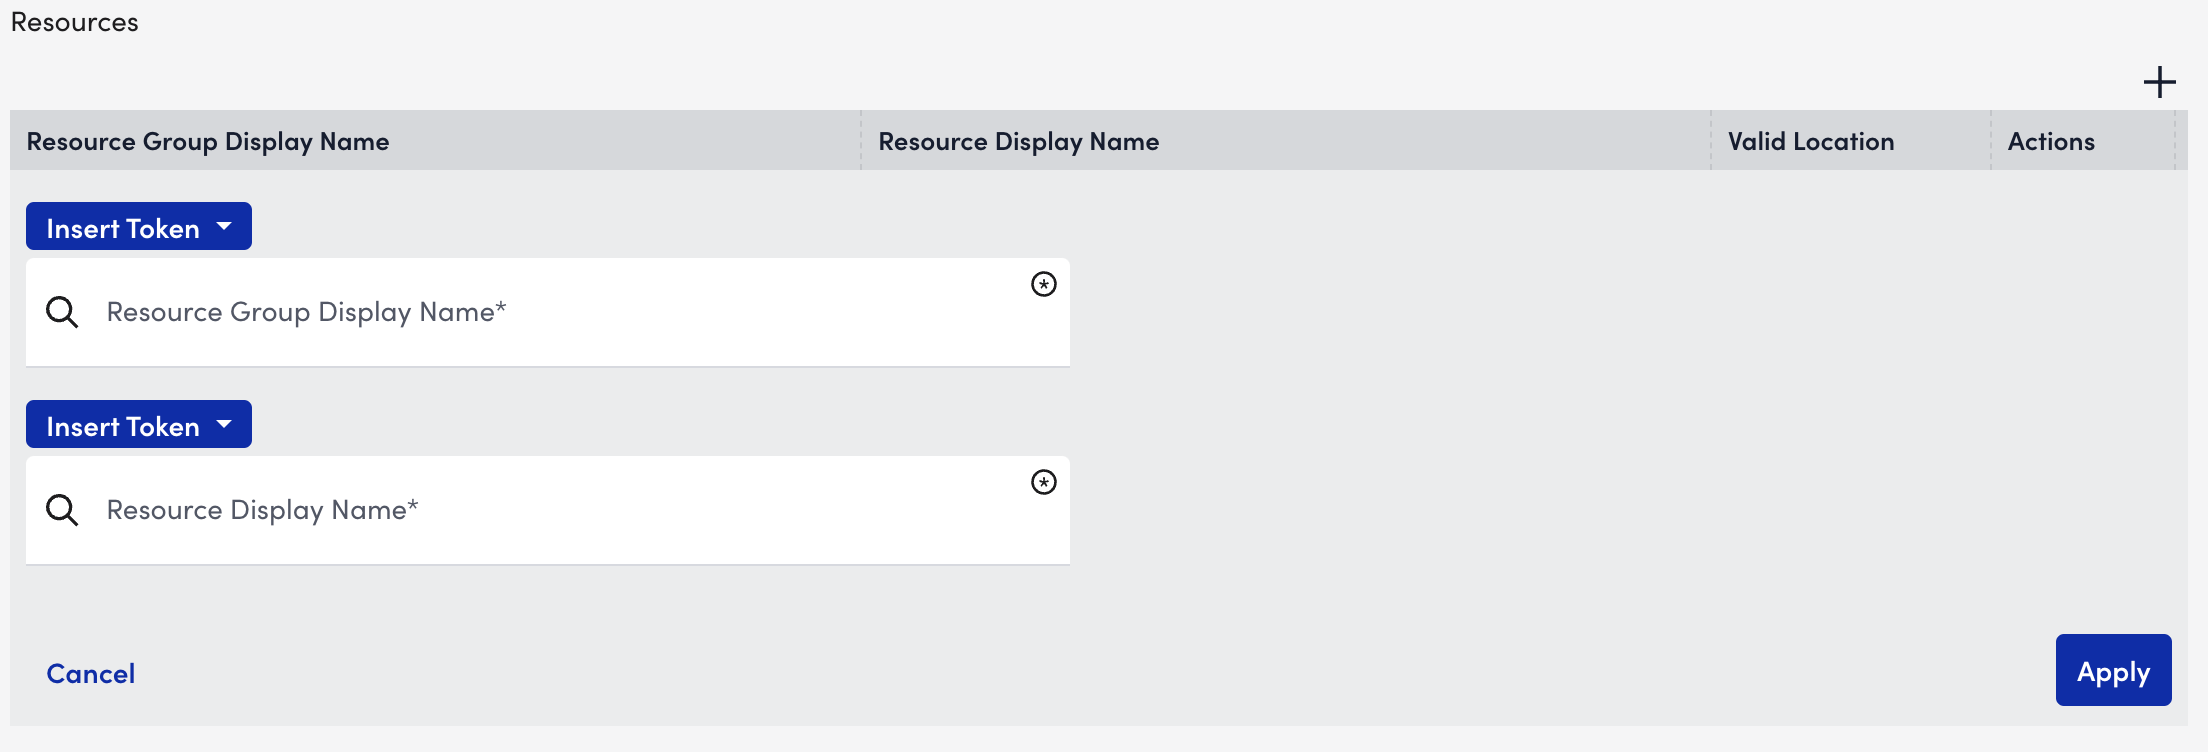
- Select Apply.
The Valid Location column in the table is automatically populated.
You can add as many resources as needed.
- In the Alert Statuses to Display settings, toggle on the statuses types you want to display on the widget (all statuses are toggled on by default).
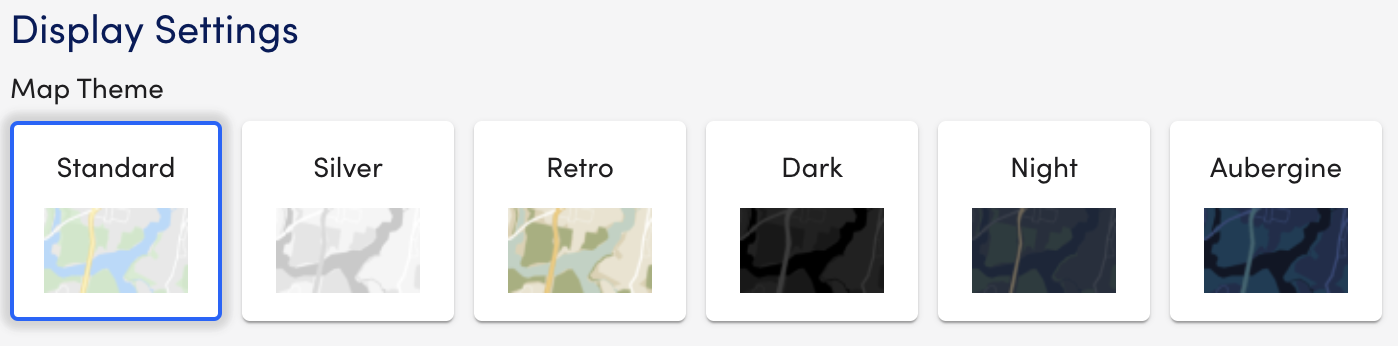
- (Optional) In the Display Settings, select a Map Theme (default is Standard).
- Complete the standard widget configurations. For more information, see Configuring Standard Widget Settings.
- Select Save.
You can now view alerts for the set resources on the map. If you select an alert, it will redirect you to the instance on the Resource page.
