Websites Management
Last updated on 19 August, 2024You can manage the different Web Check, Ping Check, and Website Groups for your Website. Managing Websites consists of editing, deleting, exporting, and importing a Website. You can export a Website as a JSON file for sharing or versioning purposes.
Tokenizing Sensitive Information
You can tokenize sensitive information as a security best practice. LogicMonitor removes password values in the Web Check steps if the password is not tokenized.
To tokenize sensitive fields, do the following:
- Set the field’s value as a property in the Manage Website page (For example,
password=ABCD). - Set the property’s name as a token (For example,
##password##). All property values are removed during export. This ensures your sensitive information is not exported.
Note: For DataSources, any property name that includes password or .pass are masked.
Editing a Website
- In LogicMonitor, navigate to Websites > required Web or Ping Check.
- Select (Manage)
 .
.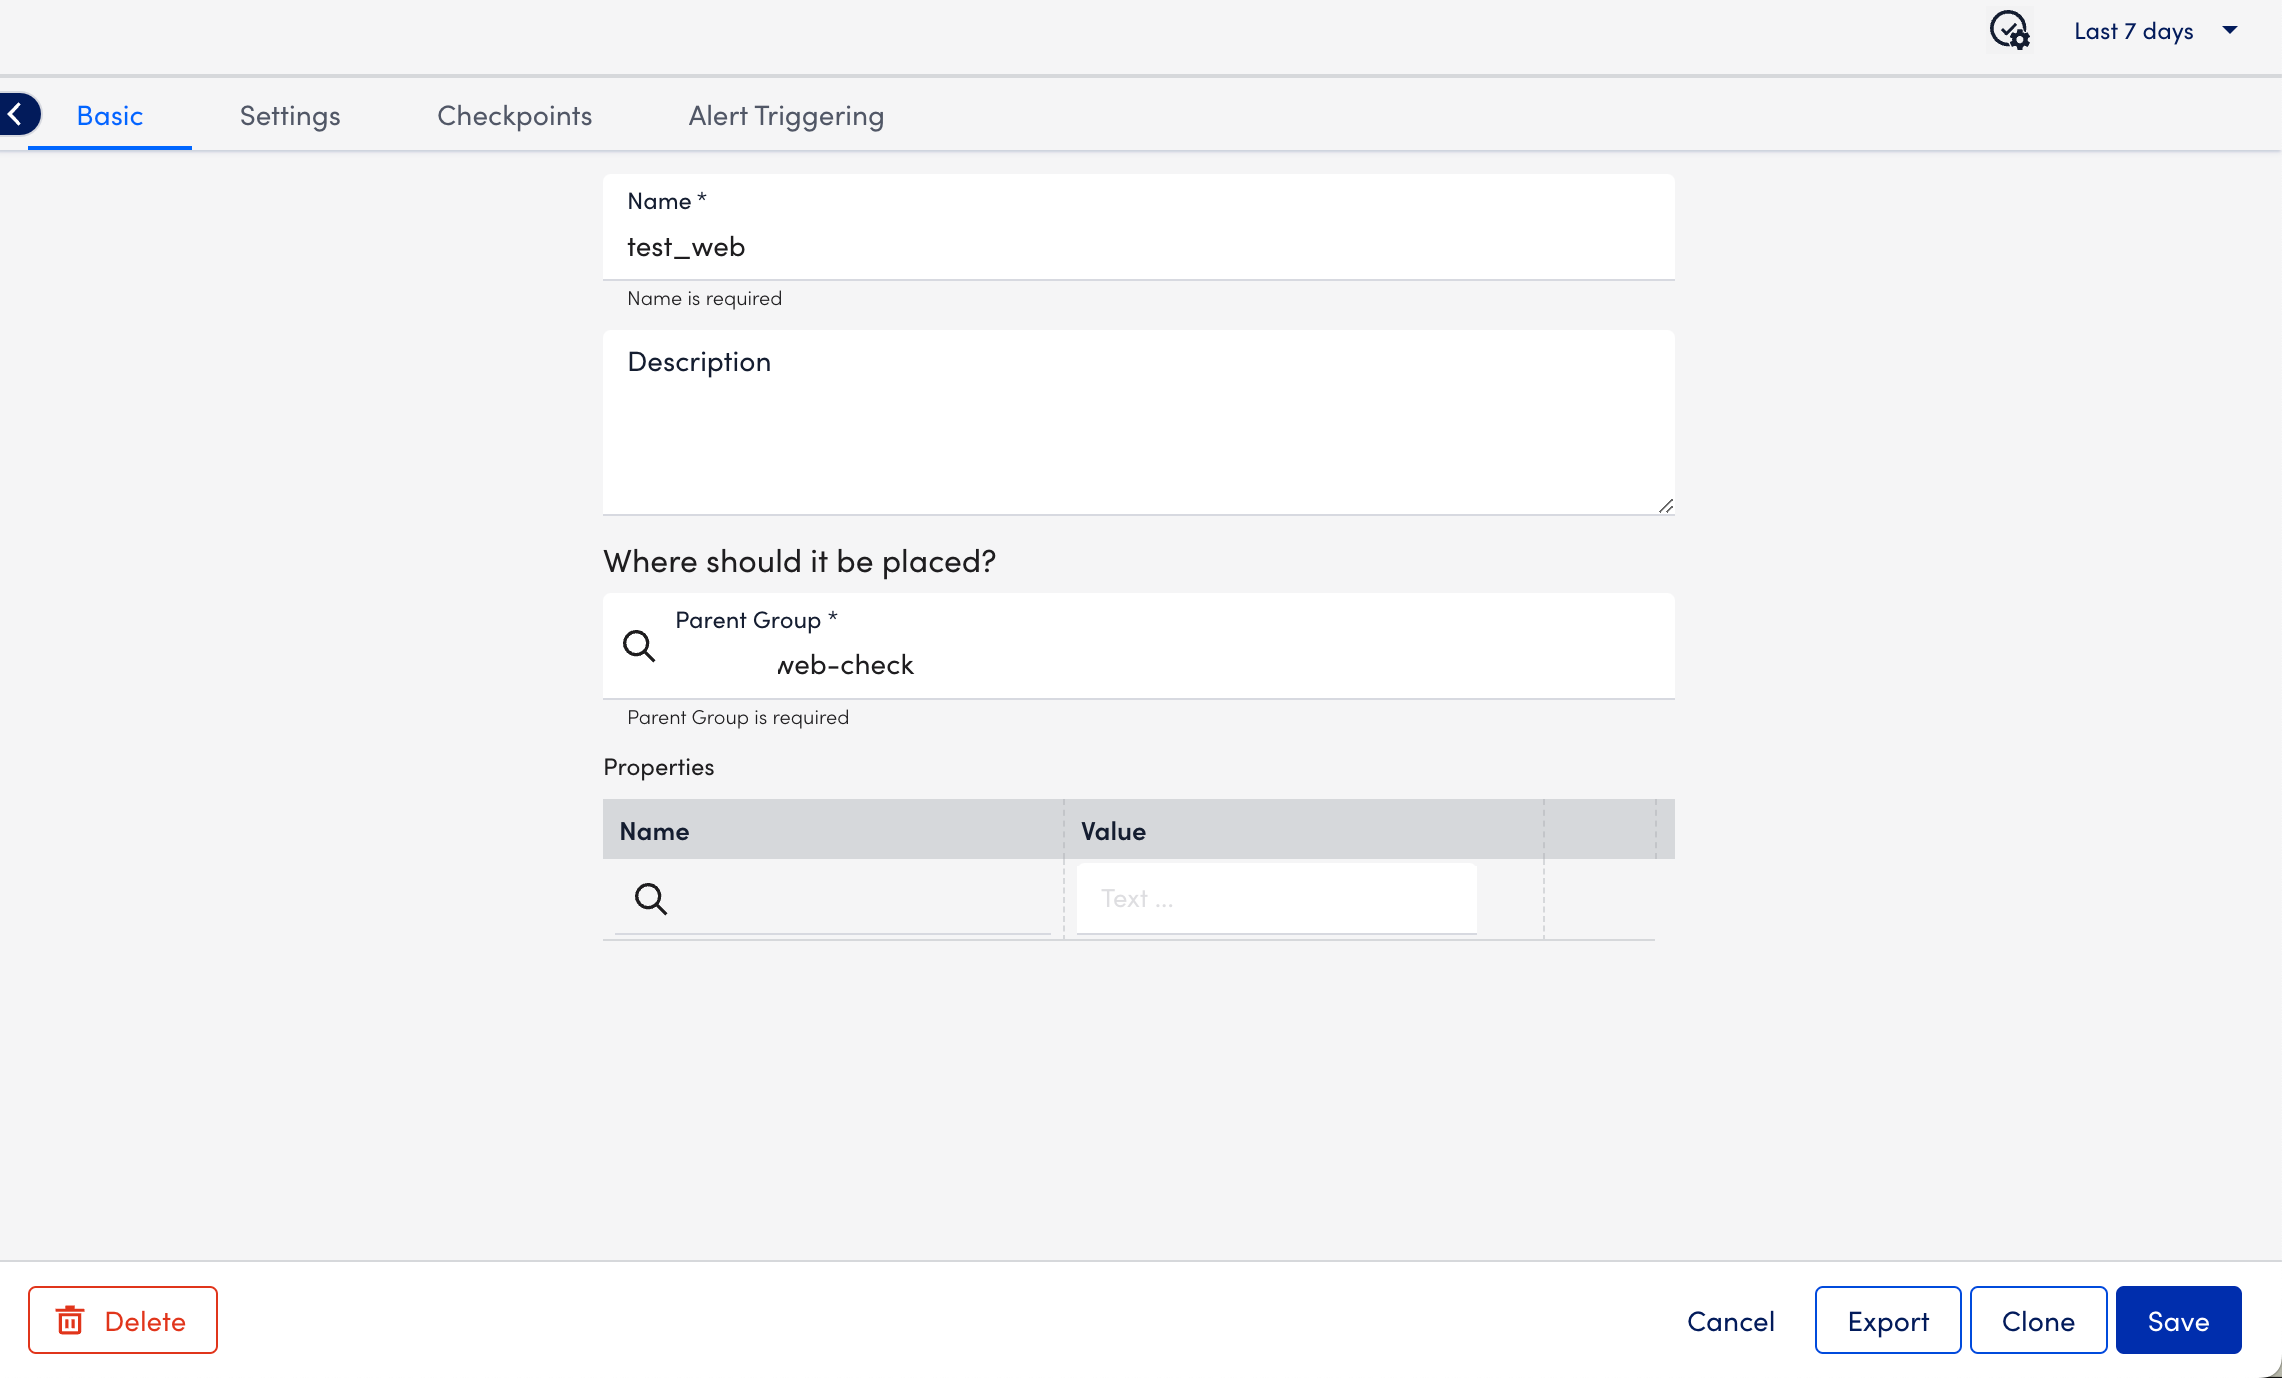
- Enter the required changes in the Basic, Settings, Checkpoints, and Alert Triggering tabs. For more information, see Web Check and Ping Check.
- Select Save.
Deleting a Website
- In LogicMonitor, navigate to Websites > required Web or Ping Check.
- Select (Manage) .
- Select Delete.
Exporting a Website
- In LogicMonitor, navigate to Websites > required Web or Ping Check.
- Select (Manage) .
- Select Export to export the website details in JSON format.
A dialog displays confirming all fields that will be exported, excluding scripted fields in scripted Web Checks. - Select Confirm Export.
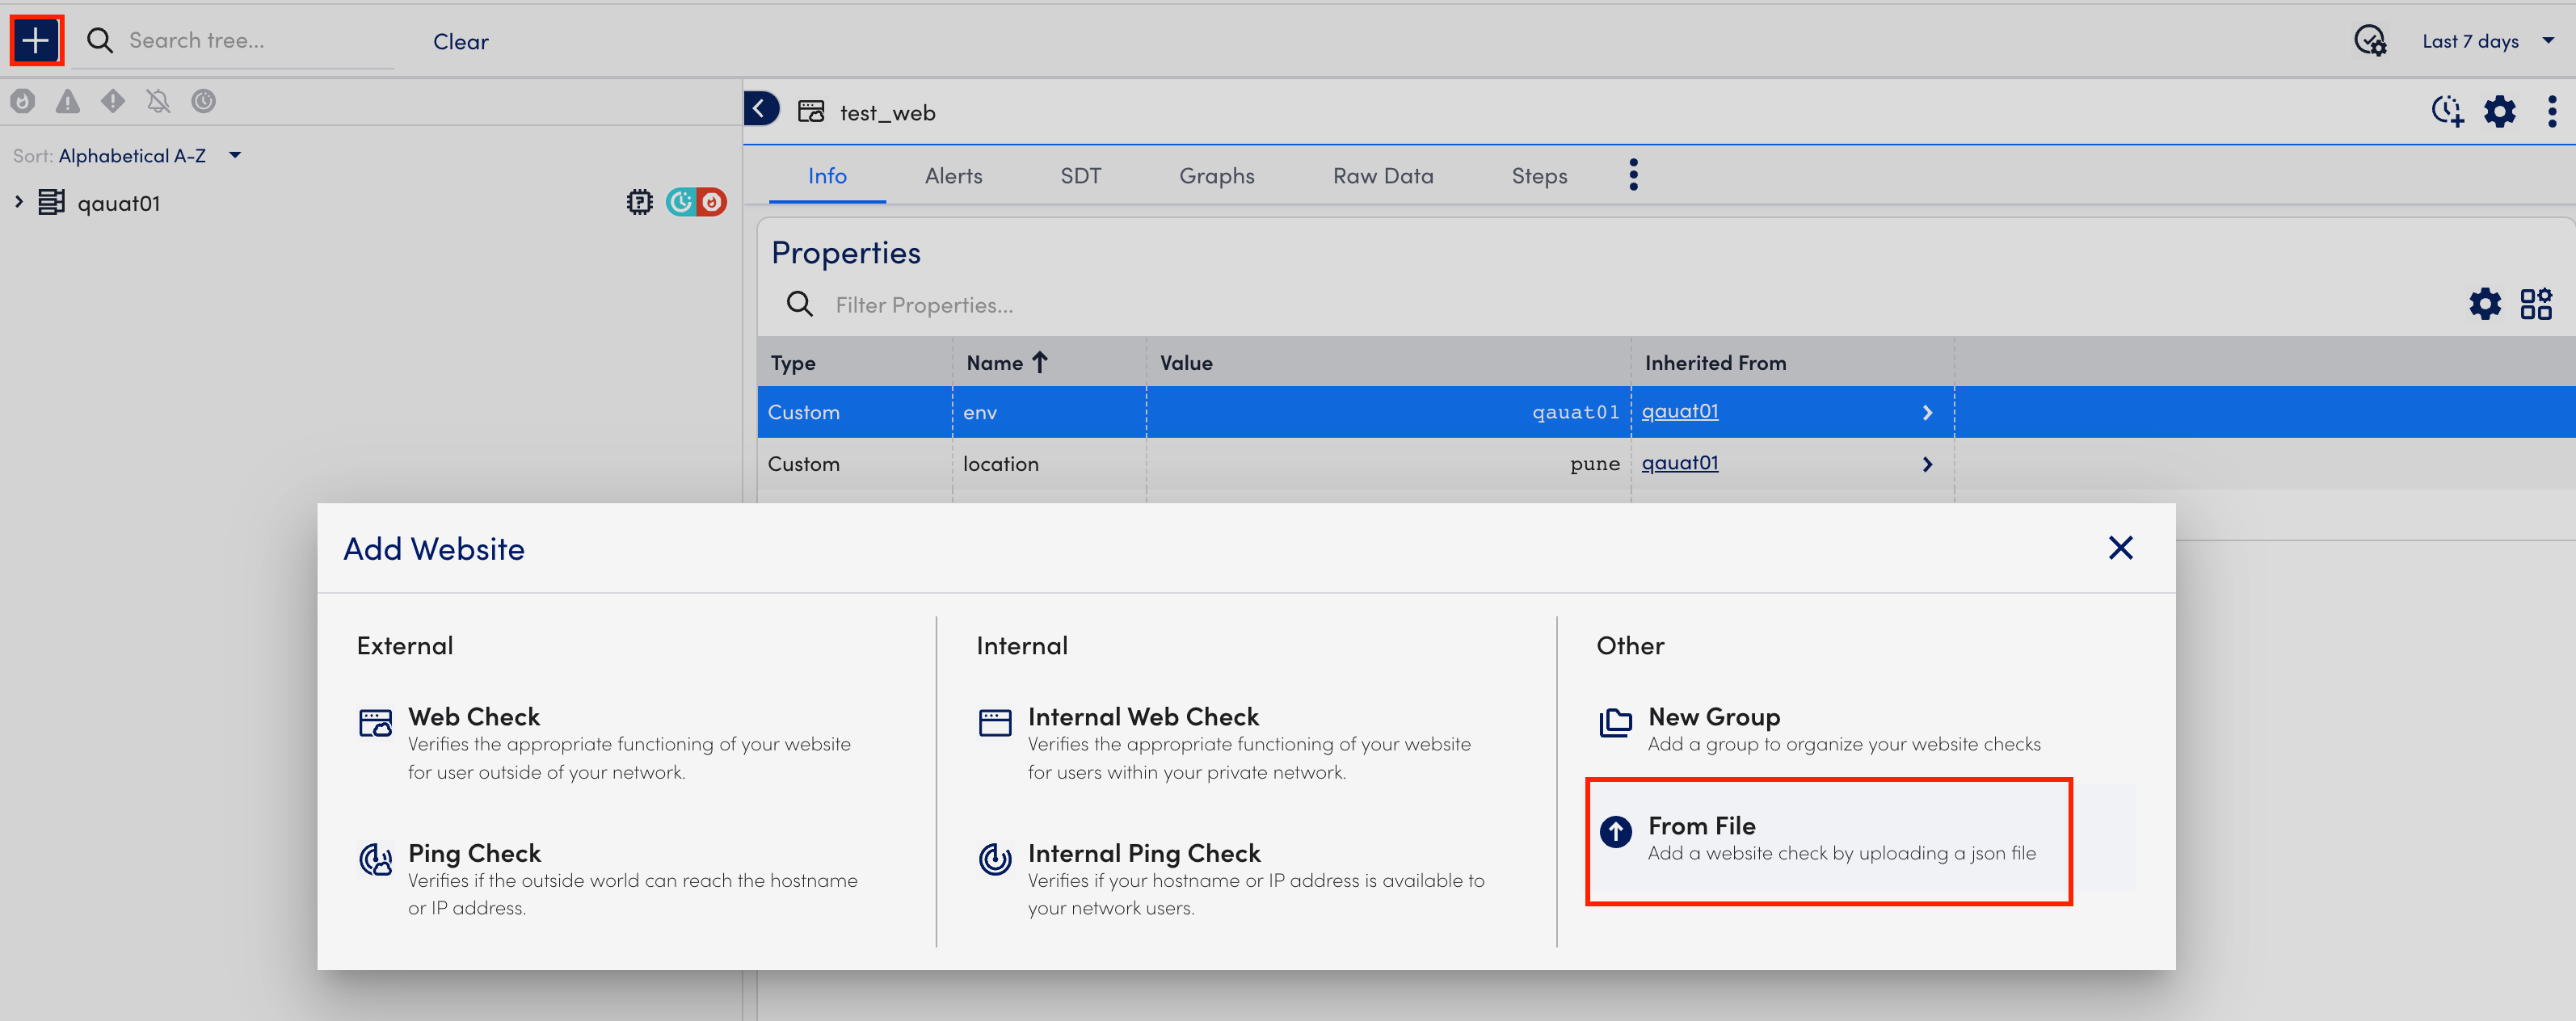
Importing a Website Check from File
- In LogicMonitor, navigate to Websites > (Add) + > select From File.
- In the Import from File modal, select Browse.
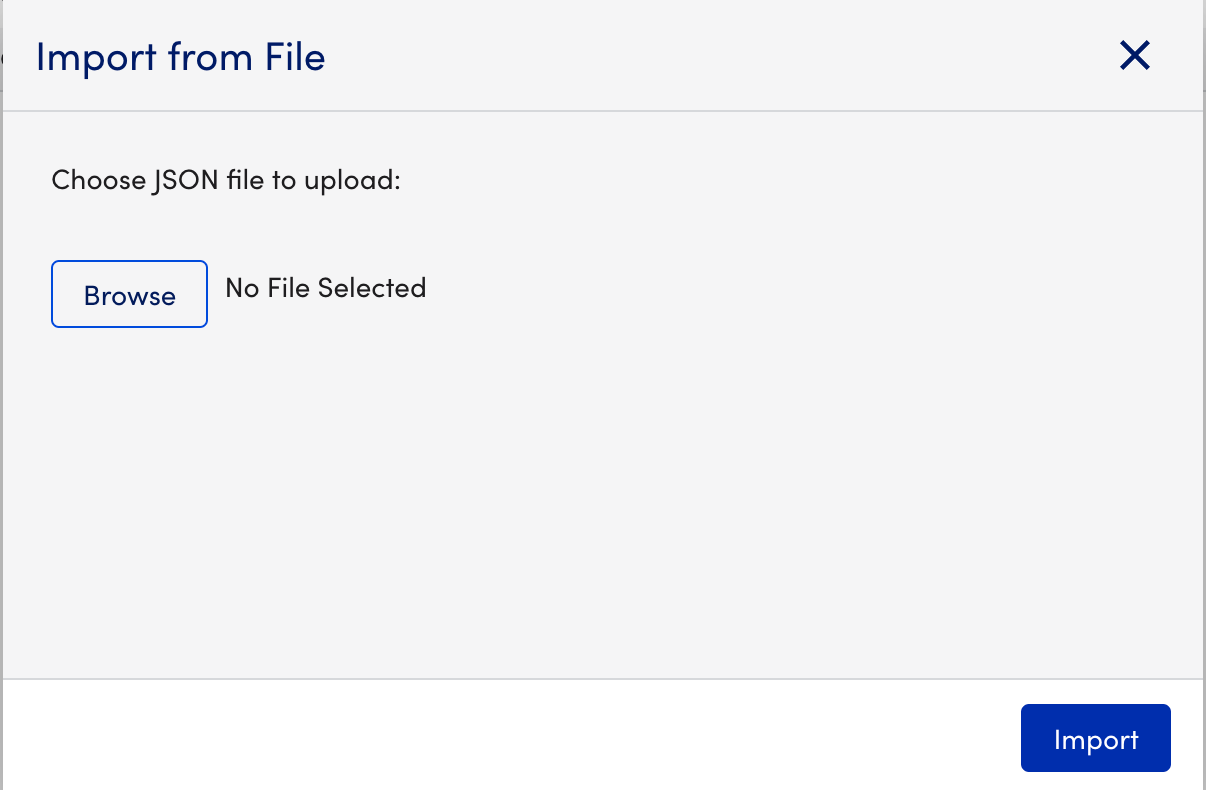
- Select the website you want to import.
The website must be a JSON file format. - Select Import.